
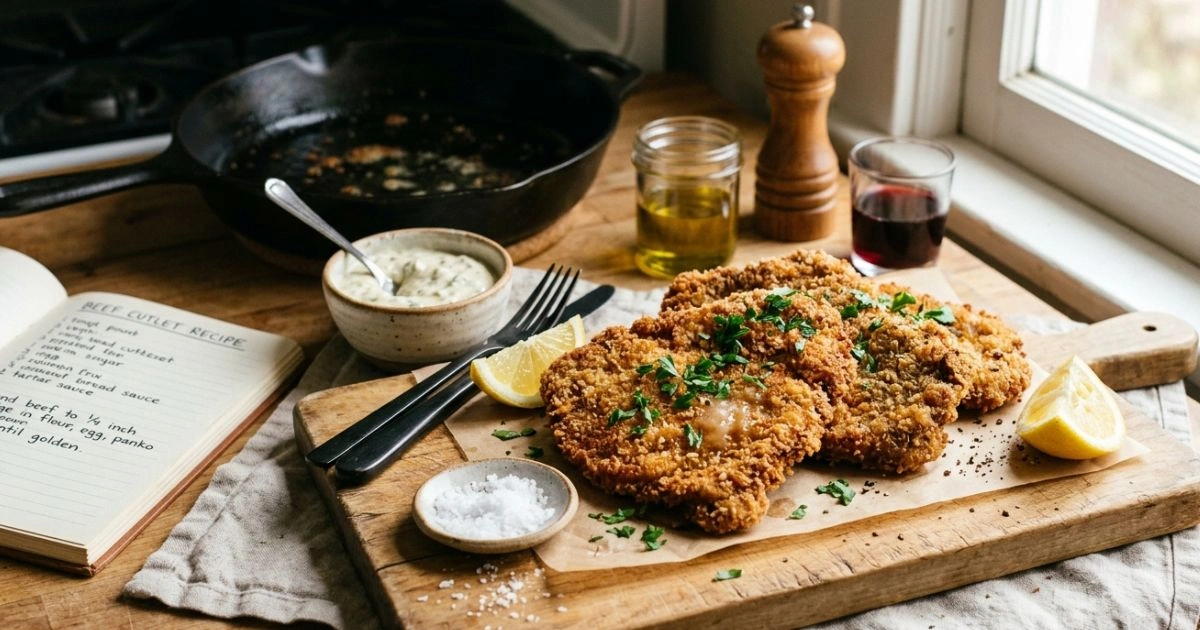
Beef cutlet recipe: Crispy, Juicy and Easy to Master
Table of Contents
There’s a sound that stops everything in a busy kitchen — that sharp, satisfying sizzle when a breaded cutlet meets hot oil. If you’ve ever stood at a stove chasing that sound, trying to recreate something your mother or grandmother made look effortless, you already know the feeling. Beef cutlets carry something beyond flavor. They carry memory, warmth, and that particular kind of comfort that no restaurant dish ever quite delivers.
Maybe yours kept falling apart. Maybe the breading slid off before the pan even got hot. Maybe the inside was cooked through but the outside looked pale and soft instead of deeply golden. Whatever went wrong before, that ends today. This guide walks you through everything — the ingredients, the technique, the science, and the mistakes — so your beef cutlet recipe becomes something you own completely.
What Is a Beef Cutlet, Really?
A Dish with Deep Roots
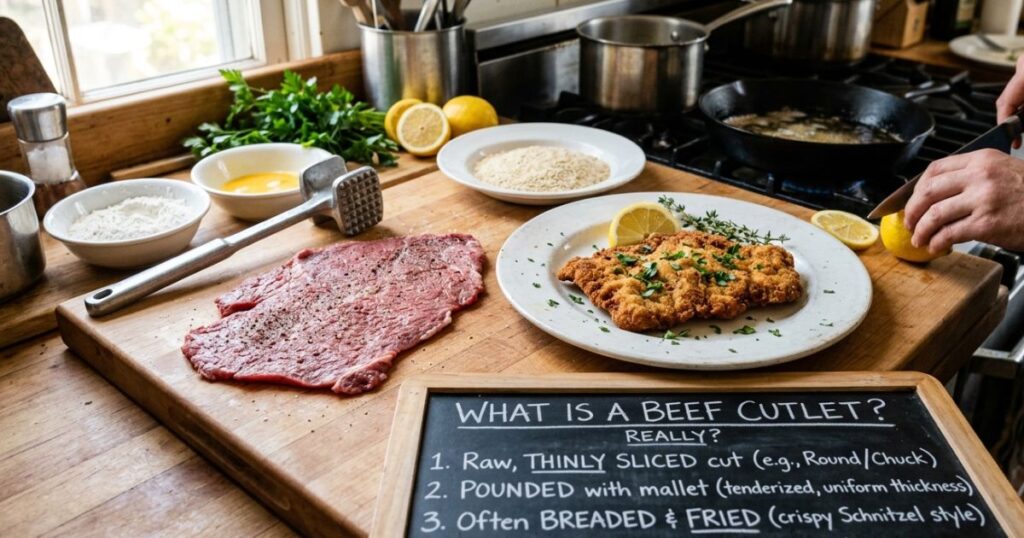
Before jumping into the kitchen, it helps to understand what you’re actually making. A beef cutlet, at its core, is a seasoned ground beef mixture shaped into flat portions, breaded, and cooked until crisp. Simple in concept — demanding in execution.
Cutlets appear across almost every food culture on earth. In Europe, the breaded schnitzel-style cutlet became a staple of working-class cooking for centuries. In South Asia, spiced beef cutlets are served at tea time, packed with green chilies and coriander. In Japan, the Menchi-katsu brings ground meat inside an ultra-crisp panko shell. Each version shares the same soul — affordable ingredients, skilled hands, and heat.
How Beef Cutlets Differ from Similar Dishes
You might wonder how a beef cutlet differs from a burger patty or a meatball. Here’s the key distinction:
- Burger patties are typically unbreaded and cooked directly on a grill or griddle
- Meatballs are round, smaller, and often simmered in sauce
- Beef cutlets are flat, breaded, and pan-fried — the breading is non-negotiable and creates the defining crispy exterior
Ingredients for Your Beef Cutlet Recipe
Everything You Need at a Glance
Getting your ingredients right before you start is half the battle. Below are three tables breaking down exactly what goes into the meat mixture, the breading station, and the frying setup.
Table 1 — The Beef Mixture
| Ingredient | Quantity | Why It Matters |
|---|---|---|
| Ground beef (80/20) | 500g / 1 lb | Fat keeps it juicy, not dry |
| Onion, finely chopped | 1 medium | Adds moisture and sweetness |
| Garlic cloves, minced | 3 cloves | Depth of flavor |
| Fresh parsley, chopped | 2 tbsp | Brightness and color |
| Egg | 1 large | Binds everything together |
| Breadcrumbs (inside mix) | 3 tbsp | Holds moisture within the patty |
| Salt | 1 tsp | Seasoning throughout |
| Black pepper | ½ tsp | Freshly ground preferred |
| Paprika | ½ tsp | Color and mild warmth |
| Cumin (optional) | ¼ tsp | Earthy background note |
Table 2 — The Breading Station
| Layer | What to Use | Its Job |
|---|---|---|
| First coat | All-purpose flour | Creates a dry surface for egg to grip |
| Second coat | 2 beaten eggs | Acts as the glue between layers |
| Third coat | Panko breadcrumbs | Delivers the crunch you’re after |
Table 3 — The Frying Setup
| Element | Recommendation |
|---|---|
| Best oil | Sunflower or vegetable oil |
| Oil depth in pan | About ½ inch |
| Correct temperature | 350°F / 175°C |
| Best pan type | Cast iron or heavy-bottomed skillet |
Smart Substitutions Worth Knowing
Your beef cutlet recipe doesn’t have to be rigid. Here are swaps that work well without sacrificing quality:
- Ground turkey or lamb work in place of beef for different flavor profiles
- Gluten-free panko makes the recipe accessible to those avoiding gluten
- Flaxseed meal mixed with water (1 tbsp flax + 3 tbsp water) replaces egg for a binding agent
- Dried herbs can replace fresh parsley in a pinch — use half the quantity
Step-by-Step: How to Make Beef Cutlets
Step 1 — Build Your Beef Mixture
Place your ground beef into a large mixing bowl. Add the chopped onion, minced garlic, parsley, egg, breadcrumbs, and all your spices. Mix with your hands until just combined — this is critical. Overworking the meat activates proteins that tighten the texture, giving you a tough, dense cutlet instead of a tender one. Mix just enough that everything is evenly distributed.
Once mixed, cover the bowl and refrigerate for at least 20–30 minutes. This step gets skipped by most home cooks and it shouldn’t be. Cold fat holds shape better, the mixture firms up, and your cutlets won’t crack or fall apart during shaping or frying.
Step 2 — Shape Your Cutlets
Divide the chilled mixture into equal portions — around 80 to 100 grams each. Wet your hands lightly to prevent sticking, then press each portion into a flat oval or round shape, roughly ¾ of an inch thick. Uniform thickness matters more than you might think. If one edge is thicker, it won’t cook at the same rate as the thinner side, leaving you with an uneven result.
Step 3 — Set Up and Work Through the Breading Station
Line up your three dishes in order: flour, beaten egg, panko breadcrumbs. Work one cutlet at a time:
- Coat lightly in flour, shaking off the excess
- Dip fully in egg wash, letting the excess drip off
- Press firmly into panko on both sides — don’t just sprinkle, press
After breading, place each cutlet on a wire rack and let them rest for 5 to 10 minutes. The resting time allows the coating to adhere properly to the surface.
Skip it, and you’ll watch half your crust float off in the oil.
Step 4 — Fry Until Golden
Pour your oil into a heavy pan and bring it to 350°F / 175°C before you add a single cutlet. Test it with a pinch of breadcrumbs — if they sizzle immediately, you’re ready.
Lower your cutlets gently into the oil, working in batches. Crowding the pan drops the oil temperature rapidly, and when that happens the cutlets absorb oil instead of frying in it — the result is greasy, not crispy. Cook 3 to 4 minutes per side without touching them. Let the pan do the work. Flip once, and only once, when the underside is deep golden.
Your cutlets are done when a meat thermometer reads 160°F / 71°C at the center. Transfer to paper towels immediately.
Step 5 — Rest Before You Serve
Give your cutlets 2 to 3 minutes before you cut into them or plate them. The juices, which rush toward the surface during frying, need time to redistribute. Cut too early and they run out onto the plate instead of staying in the meat.
Serving ideas that work beautifully with this beef cutlet recipe:
- Creamy mashed potatoes with mushroom gravy
- Inside a toasted brioche bun with pickled onions
- Alongside steamed white rice and a cucumber salad
- With a sharp tomato chutney and flatbread
The Science Behind Crispy and Juicy Results
Why the 80/20 Beef Ratio Is Non-Negotiable
When you buy ground beef labeled 80/20, that means 80% lean meat and 20% fat. That fat isn’t waste — it’s your insurance policy against dryness. During cooking, the fat melts and creates steam from inside the patty, keeping the interior moist even as the outside crisps up. If you reach for lean ground beef thinking it’s a healthier or better choice, your cutlets will likely turn out dry, crumbly, and far less satisfying.
What Actually Makes the Crust Crispy
Getting a genuinely crispy crust comes down to a sequence of small decisions, not one single trick. Here’s what matters:
- Dry your cutlet surface before it touches the flour — moisture is the enemy of adhesion
- Choose Panko over standard breadcrumbs — Panko flakes are larger and lighter, creating air pockets that fry up crunchier
- Maintain your oil temperature — too low and the crust absorbs oil; too high and the outside burns before the inside cooks
- Never cover the pan — steam trapped under a lid turns a crispy crust soft
- Flip only once — repeated flipping disrupts the crust before it fully sets
Why Chilling the Mixture Changes Everything
This step is easy to overlook when you’re hungry and in a hurry, but chilling your beef mixture does three important things. First, the cold fat solidifies slightly, giving the patties structural integrity when shaping. Second, the binding agents — egg and breadcrumbs — have time to fully absorb into the mixture. Third, the flavors deepen as the spices penetrate the meat rather than sitting on the surface.
Mistakes That Ruin a Good Beef Cutlet Recipe
Even experienced cooks make these errors. Knowing them puts you ahead of most people attempting this dish:
- Using ground beef that’s too lean — anything below 15% fat will dry out
- Skipping the chilling step — warm meat falls apart during shaping
- Crowding the frying pan — temperature drops and you get oil-soaked cutlets
- Adding cutlets to oil that isn’t hot enough — results in greasy, pale coating
- Not pressing the breadcrumbs firmly — loose crumbs fall off in the pan
- Flipping too early — a cutlet releases naturally when the crust has properly set; if it sticks, it’s not ready
- Cutting in immediately after frying — the juices haven’t settled yet
Variations of the Beef Cutlet Recipe Worth Trying
Spicy Beef Cutlets
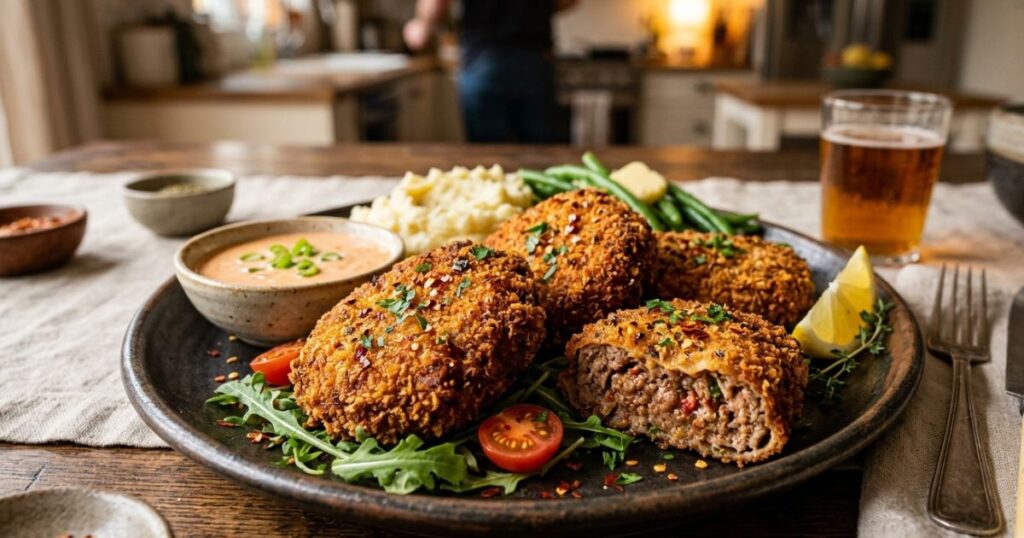
Add ½ teaspoon of cayenne pepper, a teaspoon of chili flakes, and a finely chopped green chili to your beef mixture. The heat hits you on the back end, making these ideal for anyone who wants a bolder flavor. Pair them with a cooling yogurt and mint dip to balance the spice.
Cheese-Stuffed Beef Cutlets
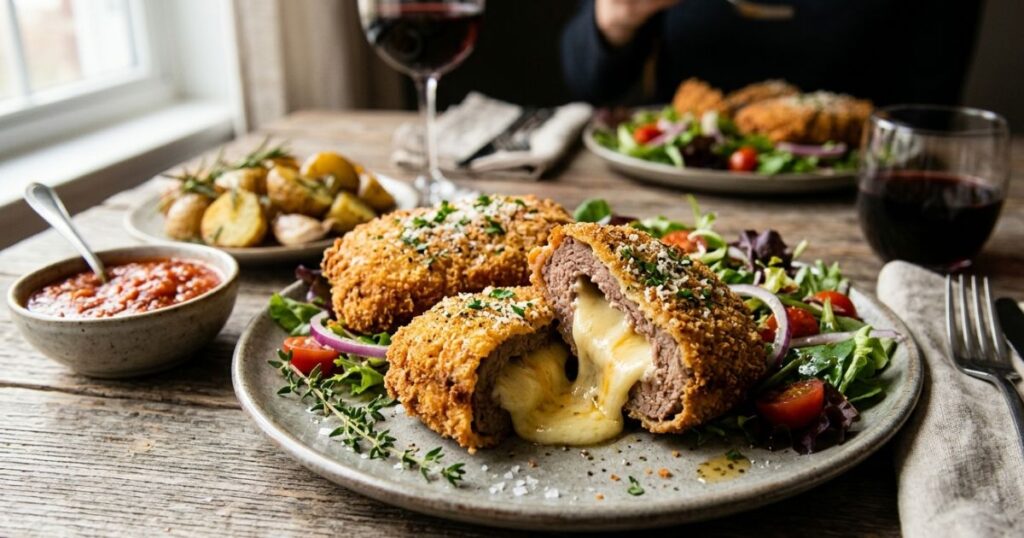
Take a portion of your beef mixture, flatten it in your palm, place a cube of mozzarella or sharp cheddar in the center, and fold the meat around it, sealing the edges firmly. Bread and fry as normal. When you cut into it, the cheese pulls apart in strings. Seal the edges tightly — any gap and the cheese melts out into the oil.
Baked vs. Fried — A Practical Comparison
Not everyone wants to fry, and baking is a genuinely good alternative. Here’s how the two methods compare honestly:
| Feature | Fried | Baked |
|---|---|---|
| Crispiness | Outstanding | Good with oil spray |
| Juiciness | Excellent | Very good |
| Calories | Higher | Lower |
| Active cooking time | 10 minutes | 25 minutes |
| Cleanup | More involved | Easier |
For baking: preheat your oven to 400°F / 200°C, place breaded cutlets on a wire rack over a baking sheet, spray lightly with oil, and bake for 20–25 minutes, flipping once at the halfway point.
Air Fryer Beef Cutlets
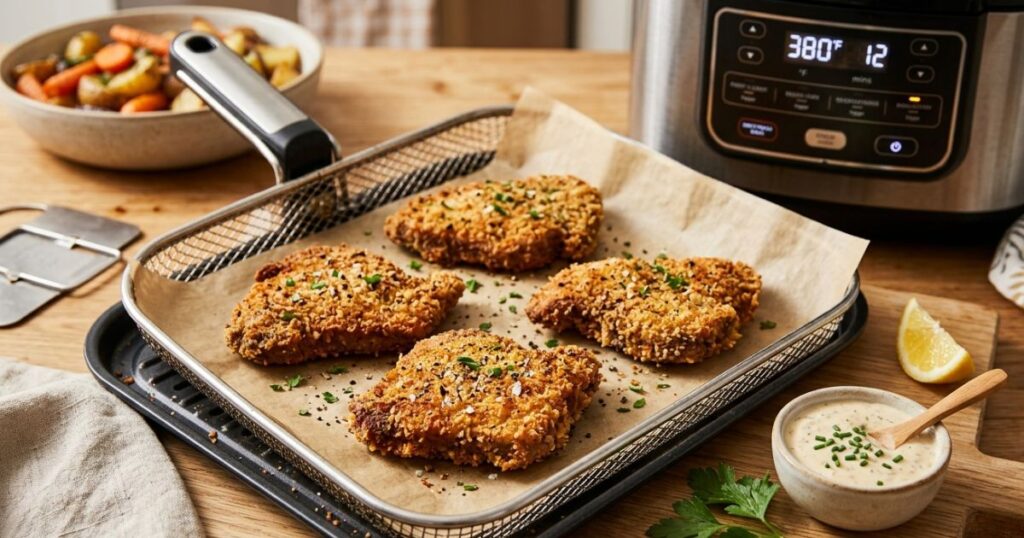
Set your air fryer to 375°F / 190°C. Place cutlets in a single layer without overlapping. Cook for 12–14 minutes, flipping at the 7-minute mark. Spray lightly with oil before cooking for better color. The result is genuinely crispy with significantly less oil.
Storing and Reheating Your Beef Cutlets
Storage Options at a Glance
| Method | How Long | Best Practice |
|---|---|---|
| Fridge (cooked) | Up to 3 days | Airtight container |
| Freezer (uncooked) | Up to 3 months | Freeze flat first, then bag |
| Freezer (cooked) | Up to 2 months | Parchment paper between layers |
How to Reheat Without Losing the Crunch
The microwave is the enemy of a crispy cutlet. Here’s what actually works:
- Oven (best method): 350°F for 10 minutes on a wire rack — the rack keeps air circulating so the bottom doesn’t go soggy
- Air fryer: 350°F for 5–6 minutes brings back almost all of the original crunch
- Pan: Medium heat, no added oil, 2–3 minutes per side — works well for a quick reheat
- Microwave: Use only as a last option — the crust softens significantly, but the flavor holds
Nutritional Breakdown (Per Cutlet, Approx. 100g)
| Nutrient | Amount |
|---|---|
| Calories | 280–320 kcal |
| Protein | 18–22g |
| Total Fat | 16–20g |
| Saturated Fat | 5–7g |
| Carbohydrates | 14–18g |
| Dietary Fiber | 1g |
| Sodium | 380–420mg |
These values shift depending on your beef’s fat percentage, how much oil the cutlet absorbs during frying, and your portion size.
Conclusion
Your beef cutlet recipe success comes down to five things: the right beef ratio, a well-seasoned mixture, a chilled rest before frying, a properly built breading station, and oil that’s hot before the cutlet touches it. Every step has a reason. Every shortcut has a consequence.
Once you’ve worked through this process a couple of times, it stops feeling like a recipe you’re following and starts feeling like something you simply know how to do. That’s the goal — not just a good meal tonight, but a technique that lives in your hands.
Now it’s your turn. Pull out that heavy pan, get your oil up to temperature, and make a batch. Try the cheese-stuffed version for your next gathering. Add the spice blend when you want something with more kick. Freeze a batch for the week ahead.
If this guide helped you finally nail your beef cutlets, share it with someone who’s been struggling with theirs. And if you’ve got a variation that works brilliantly in your kitchen — a spice combination, a stuffing idea, a dipping sauce — share it in the comments. The best recipes are never finished.
Frequently Asked Questions About Beef Cutlet Recipe
What is the best beef for a beef cutlet recipe?
Ground chuck with an 80/20 lean-to-fat ratio is your best option. The fat content keeps the interior juicy during frying. Going leaner than 85/15 will almost certainly give you dry, crumbly cutlets regardless of how carefully you cook them.
Can I prepare my beef cutlet recipe ahead of time?
Yes — and it actually improves results. Shape and bread your cutlets, place them on a parchment-lined tray, cover, and refrigerate for up to 24 hours. The breading sets more firmly overnight, giving you a better crust when you fry the next day.
Why does my beef cutlet recipe fall apart while frying?
The three most common reasons are insufficient binding (not enough egg or breadcrumbs in the mixture), skipping the chilling step so the mixture is too soft, or adding cutlets to oil that hasn’t reached the correct temperature.
How do I get my beef cutlet recipe extra crispy?
Use Panko breadcrumbs rather than standard ones, ensure the surface of your shaped cutlet is as dry as possible before breading, and make sure your oil is at 350°F before you add anything to the pan.
Can I bake instead of fry in this beef cutlet recipe?
Absolutely. At 400°F / 200°C on a wire rack for 20–25 minutes with an oil spray before going in, you’ll get a genuinely good crust — not identical to frying, but close enough that most people are satisfied.
Can I freeze cutlets from this beef cutlet recipe?
Yes. Freeze uncooked breaded cutlets flat on a tray first, then transfer to freezer bags once solid. They keep for up to three months. Fry straight from frozen, adding an extra 2–3 minutes to your cooking time.
What sauces work best alongside a beef cutlet recipe?
Classic options include tartar sauce, garlic aioli, and mushroom gravy. For something bolder, try sriracha mayo or a sharp tomato chutney. A simple squeeze of lemon over a freshly fried cutlet also works remarkably well.