
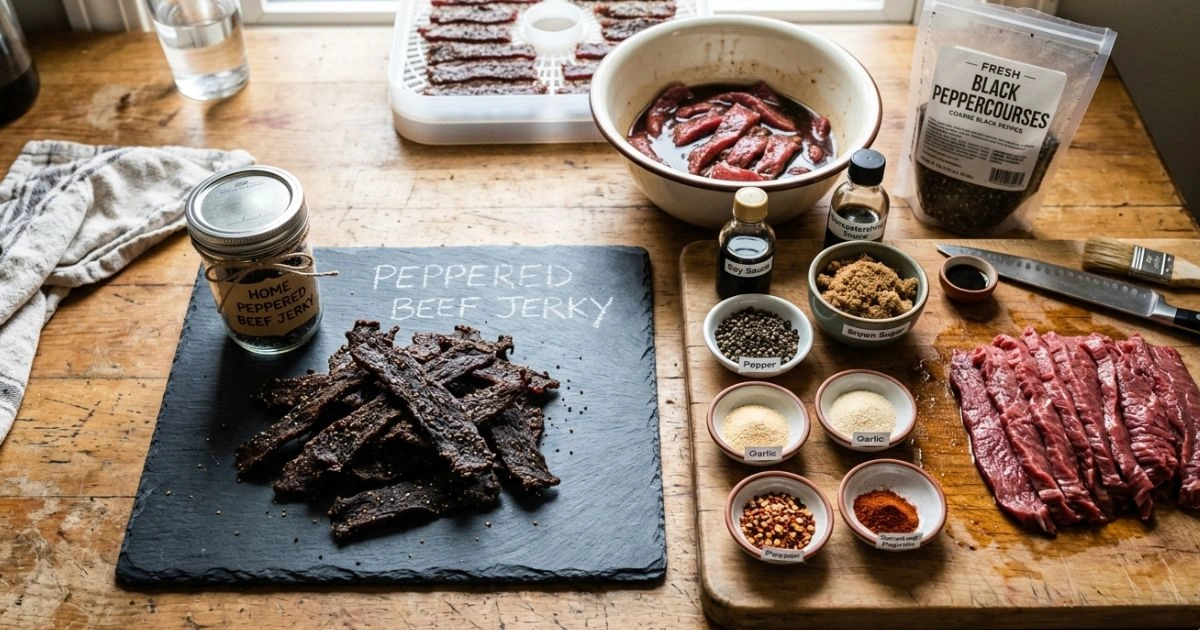
Peppered beef jerky recipe: Spicy, Savory Homemade Snack
Table of Contents
There’s a particular kind of satisfaction that hits differently when you make something with your own hands — especially when that something smells like cracked black pepper, smoky beef, and pure anticipation. The first time you pull a perfectly dried batch of homemade peppered beef jerky from your dehydrator or oven, something shifts. You realize that the gas station bag you’ve been reaching for all these years doesn’t come close.
Maybe you’ve tried store-bought jerky your whole life, appreciating the convenience but quietly wishing it had more kick, less sodium, fewer ingredients you can’t pronounce. Or maybe you’re a home cook looking for a project that delivers serious, repeatable rewards. Either way, this peppered beef jerky recipe was made for you — built around bold flavor, real ingredients, and a process that’s far more approachable than most people expect.
By the time you finish reading, you’ll know exactly which cut of beef to buy, how to build a marinade that penetrates deep, and how to dry your jerky to that perfect chewy-but-not-brittle texture. Let’s get into it.
Why Make Your Own Peppered Beef Jerky at Home?
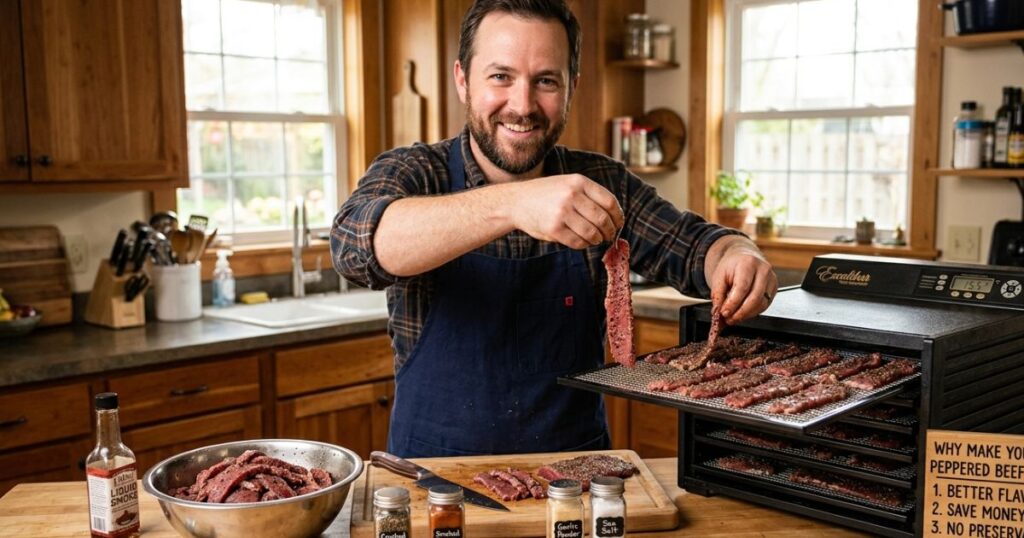
It’s Healthier Than Anything Off the Shelf
Walk through any convenience store jerky aisle and flip over a bag. You’ll find sodium counts nudging 600mg per one-ounce serving, along with preservatives like sodium nitrite, artificial flavors, and sweeteners that serve no real purpose. When you make your own peppered beef jerky recipe at home, every single ingredient is something you chose intentionally.
You control the salt. You control the pepper intensity. You control whether there’s any sugar at all. For anyone eating keto, paleo, or simply trying to be more aware of what goes into their body, homemade jerky is a genuine upgrade.
Your Wallet Will Thank You
Here’s a number worth knowing: premium store-bought jerky routinely runs $7–$10 for a 3-ounce bag. That works out to roughly $40 per pound. Compare that to buying a 2-pound top round from your butcher — typically $8–$12 per pound — and making nearly a pound of finished jerky from it. The math is not subtle.
Yes, there’s an upfront time investment. But once you’ve made your first batch, the process becomes second nature, and you’ll find yourself making larger quantities for less and less effort per ounce.
The Flavor Gap Is Real
Freshly cracked coarse black pepper is not the same ingredient as the pre-ground powder sitting in a factory seasoning vat. The volatile oils responsible for that sharp, almost floral pepper heat begin dissipating the moment a peppercorn is ground. When you crack your own pepper and press it into fresh beef before a long marinade, the result is a depth of flavor that no commercial product can replicate at scale.
Choosing the Best Cut of Beef for Your Peppered Beef Jerky Recipe
The cut you choose determines texture, flavor intensity, and how well your jerky holds up over time. Fat is the enemy of shelf-stable jerky — it goes rancid faster than the lean meat around it — so you want cuts that are naturally lean with a defined grain.
Your best options:
- Top Round — The most popular choice for a reason. Lean, affordable, easy to find, and straightforward to slice uniformly. This is the cut most pitmasters and jerky enthusiasts return to.
- Eye of Round — Even leaner than top round, with a very symmetrical shape that makes slicing consistent. Slightly less flavorful but excellent for clean, uniform strips.
- Bottom Round — A touch tougher but very flavorful. Works beautifully when sliced thin against the grain.
- Flank Steak — Richer beefy flavor profile. The natural grain runs visibly along the meat, which makes it easy to decide your slicing direction based on the texture you want.
One cut-shortcut worth knowing: ask your butcher to slice the meat for you at exactly 1/4 inch. Most butchers will do this at no extra charge, and it saves you significant prep time while guaranteeing consistency across every strip.
Essential Equipment You’ll Need
You don’t need a professional setup to produce exceptional peppered beef jerky. But having the right tools makes the process smoother.
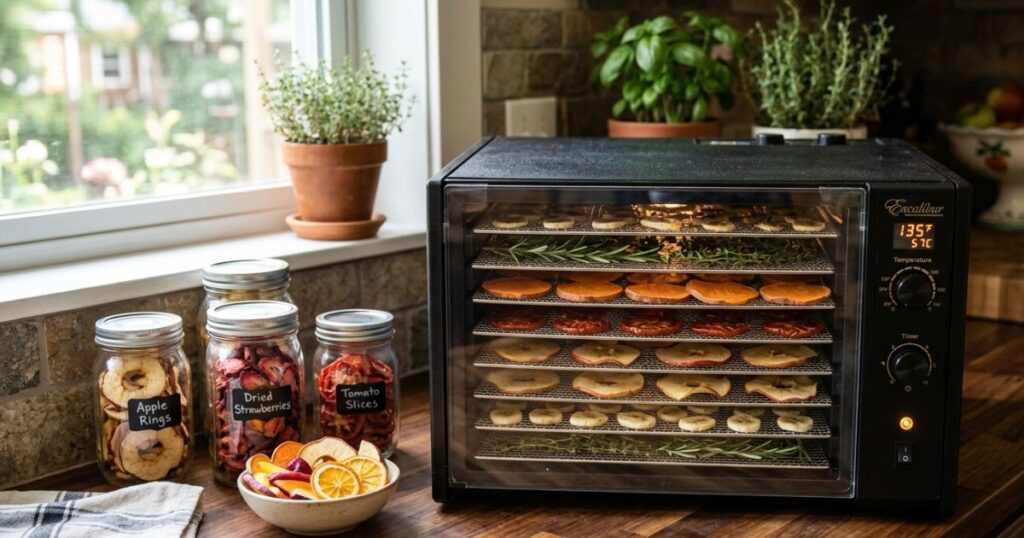
Food Dehydrator (Recommended)
A dehydrator gives you the most reliable, consistent results. It circulates warm, dry air evenly across every tray, pulling moisture out gradually without cooking the meat. Look for models with adjustable temperature settings that reach at least 160°F. Brands like Cosori, Excalibur, and Nesco are well-regarded in the jerky-making community.
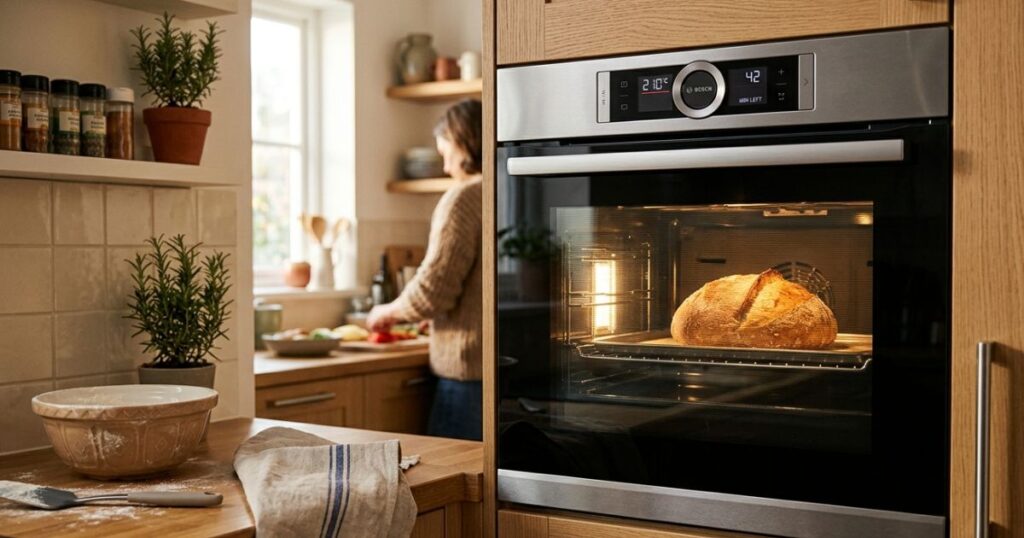
Oven Method
No dehydrator? Your oven works. Set it to its lowest temperature — usually around 170°F — and place your beef strips on a wire rack set over a foil-lined baking sheet. Prop the oven door open an inch or two with a wooden spoon to allow moisture to escape. It’s slightly less efficient than a dehydrator but produces excellent results.
Smoker Method
If you own a smoker, you’re in for something special. Smoking at 180°F with hickory, mesquite, or applewood chips adds a layer of complexity that makes your peppered beef jerky genuinely extraordinary. Monitor internal temperature carefully — the beef needs to reach 160°F.
Other Tools You’ll Want Nearby
- Sharp slicing knife or dedicated meat slicer
- Large zip-lock bags or a glass baking dish for marinating
- Paper towels (used at multiple stages)
- Airtight storage containers or vacuum seal bags
The Peppered Beef Jerky Recipe — Ingredients
Marinade
| Ingredient | Amount | Purpose |
|---|---|---|
| Soy sauce | 1/2 cup | Base flavor, umami, salt |
| Worcestershire sauce | 1/4 cup | Savory depth and richness |
| Freshly cracked black pepper | 2 tablespoons | The star — bold, sharp heat |
| Coarse ground black pepper | 1 tablespoon | Extra texture and layered heat |
| Garlic powder | 1 teaspoon | Savory backbone |
| Onion powder | 1 teaspoon | Rounds and softens the flavor |
| Smoked paprika | 1 teaspoon | Color, subtle smokiness |
| Red pepper flakes | 1/2 teaspoon | Optional heat boost |
| Brown sugar | 1 tablespoon | Balances the pepper’s bite |
| Liquid smoke | 1 teaspoon | Smoky depth (optional) |
| Apple cider vinegar | 2 tablespoons | Tenderizes + brightens flavor |
Meat
| Cut | Weight | Notes |
|---|---|---|
| Top round or eye of round | 2 lbs | All visible fat trimmed |
Step-by-Step Instructions
Step 1 — Prep and Slice the Beef
Start by placing your beef in the freezer for 60–90 minutes. You’re not freezing it solid — you’re firming it up just enough to make clean, even slices significantly easier. A partially frozen roast holds its shape under the knife like nothing else.
Once firm, slice against the grain at 1/4 inch thickness for a tender, easy-to-chew final product. Prefer a chewier jerky? Slice with the grain instead. Either direction works beautifully with this recipe — it comes down to personal preference.
Trim every visible piece of fat before you slice, and then inspect each slice afterward. Even a thin white streak of fat can shorten your jerky’s shelf life considerably.
Step 2 — Build the Marinade
Combine all your marinade ingredients in a medium bowl and whisk until fully integrated. The mixture will smell intensely salty — that’s expected and intentional. The saltiness mellows considerably once it’s absorbed into the meat over several hours.
Taste it and make any adjustments now. Want more pepper heat? Add another half tablespoon of cracked black pepper. Prefer a touch more sweetness to balance the spice? Add a little more brown sugar. This marinade is yours to own.
Step 3 — Marinate the Beef
Place your beef slices into a large zip-lock bag or glass dish. Pour the marinade over the top and work it in with your hands, making sure every single strip is fully coated. Seal the bag, removing as much air as possible, and lay it flat in your refrigerator.
Minimum marinating time: 6 hours. Optimal marinating time: 12–24 hours.
Flip the bag or stir the contents every few hours if you can. The longer the beef sits, the deeper and more complex the pepper flavor becomes. Don’t rush this stage — it’s where most of the magic happens.
Step 4 — Dry the Beef
Remove the strips from the marinade and lay them on paper towels. Pat each piece firmly dry — this removes surface marinade that would otherwise steam rather than dehydrate, slowing down the drying process significantly.
Dehydrator Method
Preheat your dehydrator to 160°F. Arrange strips on trays in a single layer with space between each piece for airflow. Dry for 4–6 hours, rotating trays every 2 hours. Begin checking for doneness at the 4-hour mark.
Oven Method
Preheat your oven to 170°F. Arrange strips on wire racks over foil-lined baking sheets and place in the oven with the door propped open slightly. Dry for 3–4 hours, flipping each strip at the halfway point.
Smoker Method
Set your smoker to 180°F using your choice of wood chips. Arrange strips directly on the grate or on smoker-safe racks. Smoke for 3–4 hours, monitoring the internal temperature. Every strip needs to hit 160°F to be safe and shelf-stable.
Step 5 — The Doneness Test
This is the most important check in the entire process. Pick up a strip and bend it firmly.
- Bends and shows small surface cracks — perfectly done
- Folds in half without any cracking — needs more time, back in the dehydrator
- Snaps cleanly in two — slightly over-dried but still completely edible
When you hit that first description, pull the jerky.
Step 6 — Cool and Store
Lay the finished strips on a clean wire rack and let them cool completely at room temperature — at least 30 minutes. Sealing warm jerky traps condensation inside the container, which dramatically shortens its shelf life and invites mold.
Once completely cooled, store in your chosen method.
Spice Level Variations
| Spice Level | How to Adjust |
|---|---|
| Mild Pepper | Reduce black pepper to 1 tbsp, skip red pepper flakes entirely |
| Medium — Classic | Follow the base recipe exactly as written |
| Hot & Fiery | Double the red pepper flakes, add 1 tsp cayenne pepper |
| Extra Bold | Add 1 tsp white pepper + 1/2 tsp ghost pepper powder |
| Smoky Pepper | Add extra smoked paprika + use the smoker drying method |
Pro Advice for Always Achieving the Best Results
On slicing:
- A sharp knife is non-negotiable — dull blades shred the meat rather than cutting it cleanly
- Consistent thickness across every slice means everything dries at the same rate; uneven slices leave some pieces underdone while others are overdone in the same batch
On the marinade:
- Low-sodium soy sauce works perfectly if you’re watching your salt intake
- A splash of your favorite hot sauce adds a layered complexity the recipe doesn’t explicitly call for but rewards if you try it
- Never skip the full marinating window — under-marinated jerky tastes one-dimensional no matter how good your drying technique is
On drying:
- Pat the meat thoroughly dry before it goes on the trays — this single step meaningfully speeds up drying time
- Don’t stack or overlap strips; airflow between pieces is essential for even dehydration
- If using a dehydrator without a fan, rotate the trays from top to bottom every couple of hours
On food safety:
- Always marinate in the refrigerator, not at room temperature.
- If you’re unsure whether your dehydrator runs hot enough, finish the jerky in a 275°F oven for 10 minutes after dehydrating to guarantee it hits a safe internal temperature
How to Store Your Homemade Peppered Beef Jerky
| Storage Method | How Long It Lasts | Notes |
|---|---|---|
| Airtight jar at room temperature | Up to 2 weeks | Keep away from light and heat sources |
| Zip-lock bag in the refrigerator | Up to 1 month | Best option for batches you’ll eat within weeks |
| Vacuum-sealed bag in the freezer | Up to 6 months | Ideal for large batches; thaws quickly |
Adding a food-grade oxygen absorber packet to your storage container is a small investment that meaningfully extends shelf life by reducing oxidation. Watch for any signs of mold, off smells, or unusual texture — if anything seems wrong, discard it without hesitation.
Nutritional Profile Per 1-Ounce Serving
| Nutrient | Approximate Amount |
|---|---|
| Calories | 70–90 kcal |
| Protein | 11–13g |
| Total Fat | 1–3g |
| Sodium | 300–450mg |
| Carbohydrates | 2–4g |
| Sugar | 1–2g |
Compare that sodium figure to the 550–700mg you’ll find in most commercial brands per serving, and the case for making your own becomes even clearer. This recipe’s macros also align well with keto, paleo, and high-protein dietary approaches.
Common Mistakes to Avoid
| Mistake | Why It’s a Problem | The Fix |
|---|---|---|
| Not trimming all visible fat | Fat turns rancid and ruins shelf life | Trim every trace before marinating |
| Slicing too thick | Meat won’t dry all the way through | Keep every slice at 1/4 inch or under |
| Rushing the marinating time | Flat, one-note flavor | Go minimum 6 hours, ideally overnight |
| Overcrowding the drying trays | Poor airflow = uneven drying | Leave clear space between every strip |
| Storing before completely cooled | Trapped moisture causes mold | Always cool fully on a wire rack first |
FAQ — Peppered Beef Jerky Recipe
How long does it take to make a peppered beef jerky recipe from start to finish? Plan for 6–24 hours of marinating time plus 4–6 hours of active drying. The vast majority of that time is completely hands-off — you’re not standing over the stove. Total active prep time is closer to 30–40 minutes.
What’s the best pepper to use in a peppered beef jerky recipe? Freshly cracked coarse black pepper. The volatile oils that carry real pepper heat and aroma disappear quickly after grinding, so pre-ground powder delivers a fraction of the impact. Crack your own and you’ll taste the difference immediately.
Can I make a peppered beef jerky recipe without a dehydrator? Absolutely. The oven method at 170°F with the door slightly propped open produces excellent results. Wire racks over baking sheets are your best setup for maximum airflow underneath the strips.
Is a peppered beef jerky recipe safe to make at home? Yes — provided you follow proper food safety practices. Marinate in the refrigerator, ensure your beef reaches an internal temperature of 160°F during drying, and store in airtight containers once cooled. Home jerky-making has a long, safe tradition when handled correctly.
How do I know when my peppered beef jerky recipe is done? The bend test is your most reliable guide. A finished strip bends and shows slight surface cracking but doesn’t snap apart. If it folds without any cracking, it needs more time.
Can I freeze homemade peppered beef jerky? Yes — and it freezes exceptionally well. Vacuum-sealed bags in the freezer preserve your jerky for up to six months with virtually no quality loss. Let it sit at room temperature for 20–30 minutes before serving to thaw.
Can I use ground beef for a peppered beef jerky recipe? You can. Ground beef jerky — formed into strips using a jerky gun or simply pressed flat and cut — is a popular and more affordable variation. The texture is different from whole-muscle jerky but the flavor potential is just as strong.
Conclusion
Making your own peppered beef jerky recipe at home isn’t just a cooking project — it’s a decision to eat better, spend smarter, and discover what real bold flavor actually tastes like. You choose every ingredient. You control the heat level. You decide the texture. And once you’ve tasted a batch of jerky made with freshly cracked pepper, a well-built marinade, and time you actually gave it, the store-bought version starts to feel like a compromise you no longer have to make.
Start with the base recipe. Master it. Then start experimenting — push the pepper harder, try the smoker, swap in a different heat source, add your own twist. Great jerky is deeply personal, and the beauty of making it yourself is that every batch can be better than the last.
Ready to make your first batch? Gather your ingredients today, get your beef in the marinade tonight, and by tomorrow you’ll have the best peppered beef jerky you’ve ever tasted sitting right on your kitchen counter. Try it, then come back and share which spice variation you went with — your next batch is already waiting.