
Easy Ninja Creami Recipes for Creamy Protein Ice Cream
Table of Contents
My daughter asked for “the ice cream shop stuff” on a Tuesday night in February, and I had exactly zero interest in driving anywhere in the cold. I’d bought a Ninja Creami two months earlier and let it sit in the box, intimidated by the idea of pre-freezing pints and timing spins just right. That night I finally pulled it out, and it changed how I think about dessert at home. If you’ve been collecting ninja creami recipes on Pinterest but haven’t actually tried one, this is the base recipe that got me hooked, plus everything I learned from a dozen messy, occasionally frustrating attempts.
The first batch I made came out chalky and stiff, more like a scoop of frozen sand than ice cream. I’d skipped the resting time and tried to spin a rock-hard pint straight from the freezer without waiting the full 24 hours. Once I fixed that mistake, the texture turned soft, creamy, and genuinely scoopable, and I haven’t gone back to store-bought pints since.
What I love most about good ninja creami recipes is how forgiving they become once you understand the machine. It’s not magic — it’s really just physics, fat ratios, and patience. This article walks through the base recipe I make weekly, five solid variations, and every mistake I’ve made so you can skip straight to the good part.
Why This Recipe Works
This base recipe works because it leans on full-fat dairy, which keeps the mixture from freezing into an unworkable brick. The Ninja Creami’s blade shaves the frozen base into fine ribbons instead of churning air in like a traditional ice cream maker, so density and fat content matter more here than they do in old-school machines.
I also keep the ratio of liquid to solids consistent every time I make one of these ninja creami recipes, because I learned the hard way that too little liquid means a dry, crumbly spin that needs three or four re-spins to smooth out. Too much liquid, on the other hand, leaves you with something closer to a milkshake than ice cream.
Sugar content matters too. It’s not just for sweetness — sugar lowers the freezing point of the base, which is exactly why sugar-free versions of ninja creami recipes tend to come out harder and icier unless you compensate with a sugar alcohol or extra fat.
Ingredients
| Ingredient | Amount | Why It’s There / Substitute |
|---|---|---|
| Whole milk | 1 cup | Adds body; low-fat milk works but gives an icier texture |
| Heavy cream | 1/2 cup | Creates the creamy, scoopable texture good ninja creami recipes need |
| Granulated sugar | 1/3 cup | Sweetens and lowers the freezing point; can sub honey or maple syrup |
| Vanilla extract | 1 1/2 tsp | Rounds out flavor; almond extract works for a nuttier note |
| Pinch of fine salt | 1/8 tsp | Balances sweetness and sharpens flavor |
| Unflavored gelatin (optional) | 1/2 tsp | Stabilizes texture for a firmer, less icy scoop |
| Mix-ins of choice | 1/3 cup | Chocolate chips, crushed cookies, or fruit added after the first spin |
Step-by-Step Instructions
Prep the Base
- Whisk the milk, heavy cream, sugar, vanilla, and salt together in a bowl until the sugar fully dissolves, about 1 minute of steady whisking.
- If using gelatin, bloom it in a tablespoon of cold water for 5 minutes, then microwave for 10 seconds until liquid, and whisk it into the base.
- Pour the mixture into your Ninja Creami pint container, stopping at the fill line marked on the inside of the pint. This step matters more than people expect in most ninja creami recipes, since overfilled pints expand and jam the lid during freezing.
Freeze
- Snap the lid on and freeze the pint flat on a level shelf for a full 24 hours. Any less and the base won’t be solid enough to spin cleanly.
- Resist the urge to check on it early — I opened mine at the 18-hour mark once and it was still slushy in the center, which threw off the whole spin and left half the pint unprocessed.
- If your freezer runs warm or is packed full, give it closer to 26 hours. A fully solid pint is the single biggest predictor of a good spin.
Spin
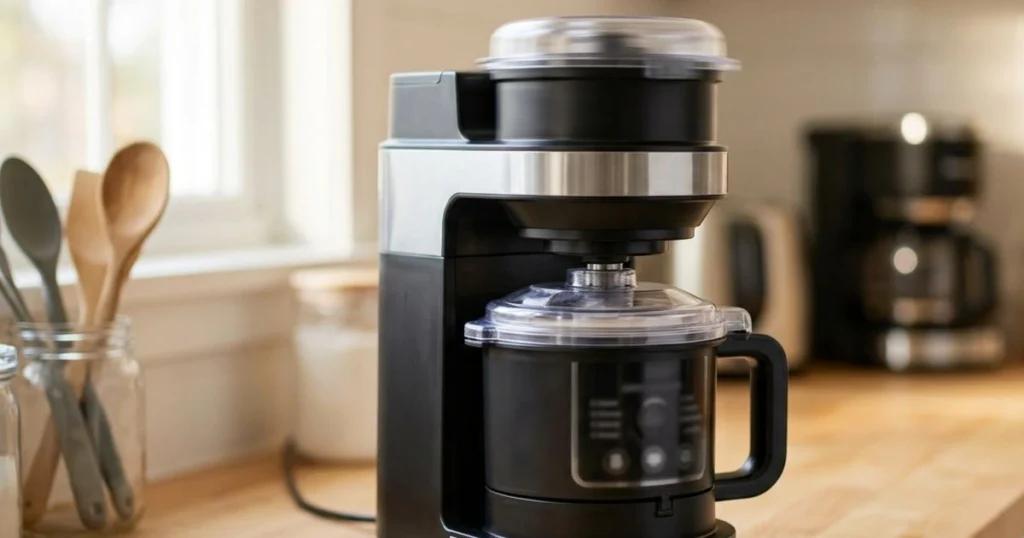
- Remove the lid and place the frozen pint into the Ninja Creami outer bowl, locking it into the machine per your model’s instructions.
- Run the “Ice Cream” program. The machine will grind through the frozen base in about 2 to 3 minutes, and you’ll hear the motor working harder in the middle of the cycle — that’s normal.
- Check the texture once it stops. If it looks powdery or crumbly rather than smooth, that’s completely normal on the first pass, so don’t panic and don’t add extra liquid yet.
Finish and Mix In
- If the texture is still crumbly after the first spin, add 1 to 2 tablespoons of milk and run the “Re-spin” function once. This almost always fixes it, and it’s the single tip that improved my results more than anything else.
- Once smooth, use a spoon to carve a small well in the center, add your mix-ins, and run the “Mix-in” cycle for 1 minute so everything gets folded through evenly without turning to mush.
- Serve right away for soft-serve texture, or let the pint firm up in the freezer for 10 to 15 minutes for a scoopable, hard-pack texture closer to what you’d get from a scoop shop.
Pro Tips & Common Mistakes
The biggest mistake I made early on was under-freezing the pint. A full 24 hours matters — even 20 hours can leave a soft spot that makes the blade struggle and the finished texture uneven from one side of the pint to the other.
Skipping the re-spin step is another common error I see people make with their own ninja creami recipes. Most bases need at least one re-spin to go from crumbly to creamy, so don’t judge the texture until after that second pass.
Adding mix-ins before freezing is tempting, but chunky ingredients like cookie pieces can jam the blade or get pulverized into dust instead of staying in distinct chunks. Always add mix-ins after the base has already spun smooth, using the dedicated mix-in cycle.
Overfilling the pint past the fill line is a mistake that leads to overflow and a messy machine. The base expands slightly as it freezes, so respecting that line protects both your finished ice cream and your countertop.
Using low-fat dairy across the board is a quiet mistake that shows up later. Ninja creami recipes built entirely on skim milk or fat-free half-and-half often need extra stabilizers just to avoid an icy, brittle texture.
Finally, don’t judge a spin by how it looks the moment it stops. Give it 30 seconds to settle — sometimes a base that looks slightly grainy right out of the machine smooths out once you stir it with a spoon.
Variations & Substitutions
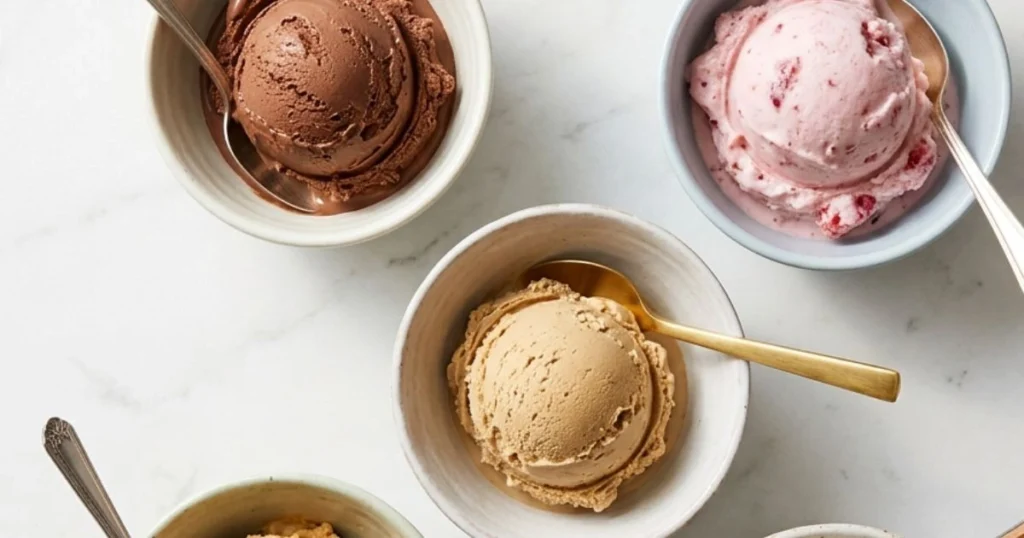
Chocolate version: Whisk 3 tablespoons of unsweetened cocoa powder into the base before freezing, and add an extra tablespoon of sugar to balance the bitterness. This is one of the easiest ninja creami recipes to riff on because cocoa powder blends in without changing the liquid ratio.
Strawberry version: Blend 1/2 cup of fresh strawberries into the base before pouring it into the pint; the fruit adds natural sweetness and a pretty pink color without any food coloring needed.
Protein-packed version: Swap in a scoop of vanilla protein powder for 2 tablespoons of the sugar, and add an extra 2 tablespoons of milk since protein powder tends to thicken the base and dry out the spin.
Dairy-free version: Full-fat coconut milk and a can of coconut cream replace the dairy here, though the texture turns out slightly icier without milk fat carrying the same structure.
Cookies and cream version: Fold in crushed sandwich cookies during the mix-in cycle for a classic flavor that disappears fast in my house, usually within a single evening.
Coffee version: Dissolve 2 tablespoons of instant espresso powder into the warm base before chilling it, which gives a deep coffee flavor without watering down the mixture the way brewed coffee would.
Peanut butter version: Whisk 3 tablespoons of creamy peanut butter into the warm base until fully smooth, then chill and freeze as usual. It’s one of the richest ninja creami recipes in this whole lineup.
Storage, Reheating & Make-Ahead Instructions
Store finished pints with the lid on in the freezer for up to 2 weeks. After that, ice crystals start forming and the texture gets noticeably grainier, even in well-made ninja creami recipes.
If a pint has been sitting for more than a few days, run it through the re-spin cycle before serving to restore that just-made creaminess. There’s no reheating step here since this is a frozen dessert, but letting a fully frozen pint sit on the counter for 5 minutes before spinning makes the process easier on the machine’s motor.
You can prep the base up to 3 days ahead and keep it covered in the fridge before pouring it into the pint and freezing, which is handy when you want fresh ninja creami recipes ready to spin on a moment’s notice for guests.
For make-ahead mix-ins, keep crushed cookies or chopped fruit in a separate container so they stay fresh and don’t get folded into the base too early, which can make them soggy by the time you’re ready to spin.
Serving Suggestions
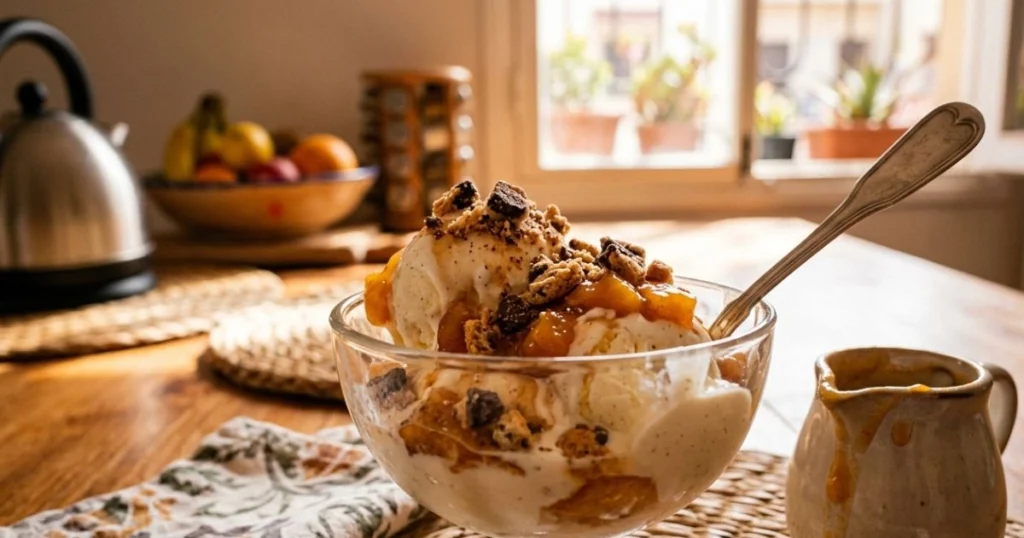
I like serving this straight from the pint with a drizzle of warm fruit sauce; leftover homemade peach pie filling works beautifully warmed and spooned over a fresh spin. For a cookie-forward sundae, crumble a few of these chocolate chip cookies right on top while the ice cream is still soft-serve texture.
A scoop alongside a warm slice of pie also makes a simple dessert plate feel a lot more finished, especially when the ice cream is still cold enough to slightly melt against a warm crust.
For a lighter option, spoon a scoop of the protein version into a bowl with fresh berries and a scatter of granola for a dessert that doubles as a post-workout treat. It’s one of the ninja creami recipes I make most often on weeknights when I want something that feels indulgent but isn’t heavy.
FAQ
Can I use skim milk instead of whole milk in Ninja Creami recipes? You can, but the texture turns icier and less creamy since fat is what keeps the spin smooth. Whole milk or a mix with heavy cream gives noticeably better results across almost every base I’ve tested.
How long does a Ninja Creami base need to freeze before spinning? A full 24 hours on a flat, level shelf is the safest bet. Freezing for less time often leaves a soft center that the blade can’t process evenly, and the USDA notes that dairy products need consistent freezing to stay food safe and texturally stable.
What’s the difference between the Ice Cream program and the Lite Ice Cream program? The Lite program is designed for lower-fat or lower-sugar bases, running a slightly different cycle so thinner mixtures don’t over-process into a soupy texture.
Can I make Ninja Creami recipes without heavy cream? Yes, though the result is closer to a light ice milk than a rich ice cream. Adding a tablespoon of neutral oil or extra milk powder helps mimic some of that missing creaminess.
Why did my Ninja Creami pint come out powdery instead of smooth? This almost always means the base needs a re-spin, sometimes with a splash of extra milk added first. It can also happen if the pint wasn’t frozen for the full 24 hours before spinning.
Can I double this recipe for a party? You’ll need a second pint container since each spin cycle is designed for one pint at a time, but you can absolutely prep two batches of base and freeze them side by side overnight.
Is it safe to eat the base before it’s fully frozen? Since this base doesn’t contain raw eggs, it’s fine to taste before freezing, similar to the custard-free ice cream bases discussed by Serious Eats in their ice cream science coverage.
How many times can I re-spin the same pint of Ninja Creami ice cream? Two re-spins is usually the practical limit before the base starts to warm up too much and re-freezing becomes necessary. If it’s still crumbly after two passes, check that the pint was frozen long enough in the first place.
Do I need the official Ninja Creami pints, or can I use another container? Stick with the official pints. They’re sized to fit the machine’s blade depth exactly, and a slightly mismatched container can cause the lid to seal poorly or the blade to catch unevenly during the spin.
Can kids help make these Ninja Creami recipes? Mixing the base and choosing mix-ins are great kid-friendly steps, though I keep the freezing, locking, and spinning stages to myself since the blade mechanism needs an adult’s attention.
Conclusion
This base recipe turned my Ninja Creami from an intimidating countertop gadget into the thing my family actually asks for by name most weeks. Once you get the freezing time and re-spin trick down, every one of these ninja creami recipes comes out creamy instead of crumbly. Try the base first, then start working through the variations — that’s genuinely where the fun starts.
Written by IJRecipes, home cook and food writer.