
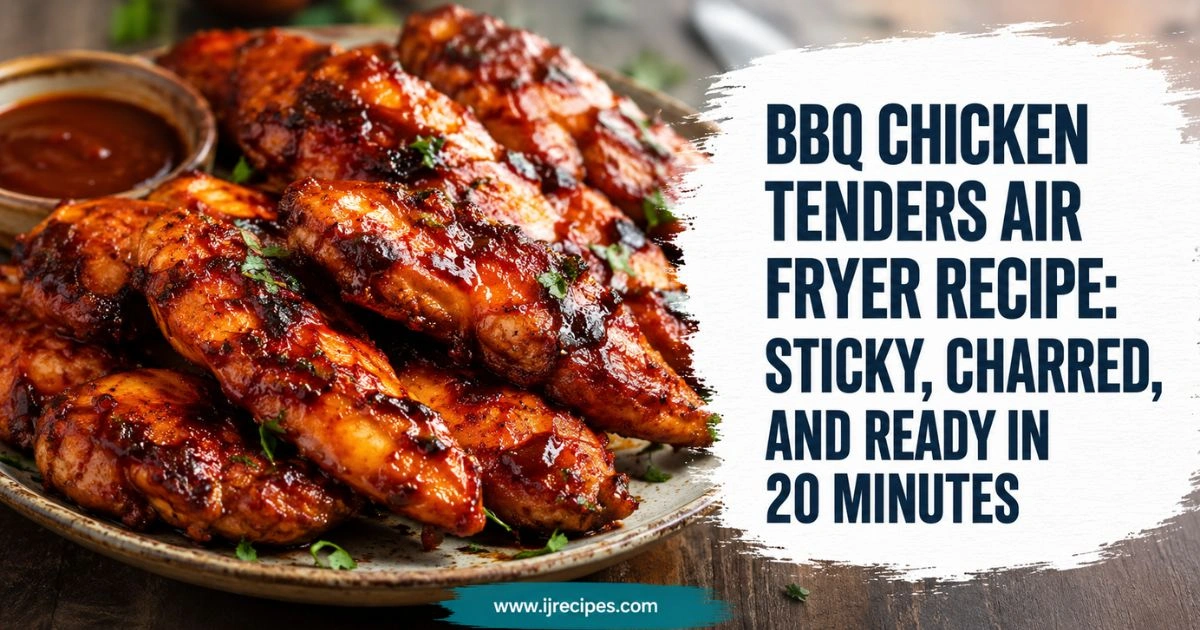
BBQ Chicken Tenders Air Fryer Recipe: Sticky, Charred, and Ready in 20 Minutes
Table of Contents
My son asked for “the crispy sauce chicken” three nights in a row last month, which is how I ended up making this bbq chicken tenders air fryer recipe so many times I stopped measuring the sauce and just eyeballed it. The first batch I made was a disaster — I brushed on the barbecue sauce too early and it burned into a bitter black crust before the chicken even hit 165°F inside. I’ve since fixed every mistake I made that night, and what’s below is the version that actually works, every single time.
I didn’t grow up with an air fryer in the house. My mom fried chicken tenders in a cast iron skillet with a half-inch of oil, and cleanup took longer than the cooking did. When I got my first air fryer three years ago, chicken tenders were the very first thing I tried, mostly out of skepticism. I wasn’t convinced hot air alone could get anywhere close to that same crisp bite. It took a few tries to land on the right temperature and timing, but once I did, this became one of the recipes I make without needing to check a recipe card anymore.
Why BBQ Chicken Tenders Air Fryer Recipe Works
The air fryer does something a regular oven can’t manage in the same amount of time: it circulates hot air fast enough to crisp the outside of the chicken before the inside dries out. Basting the tenders with barbecue sauce in the last few minutes, instead of at the start, keeps the sugar from scorching while still giving you that sticky, caramelized coating. I tested it both ways, and the late-baste method won every time — deeper color, no bitterness, and a texture that’s crisp on the edges but still juicy in the middle.
There’s also the practical side of it. A skillet of oil takes ten minutes just to heat up safely, plus another ten to cool down before you can deal with it. This recipe goes from raw chicken to plated dinner in under twenty minutes total, and the only thing to clean afterward is one bowl and the air fryer basket. For a weeknight dinner squeezed between homework and bedtime, that time difference matters more than people give it credit for.
Ingredients
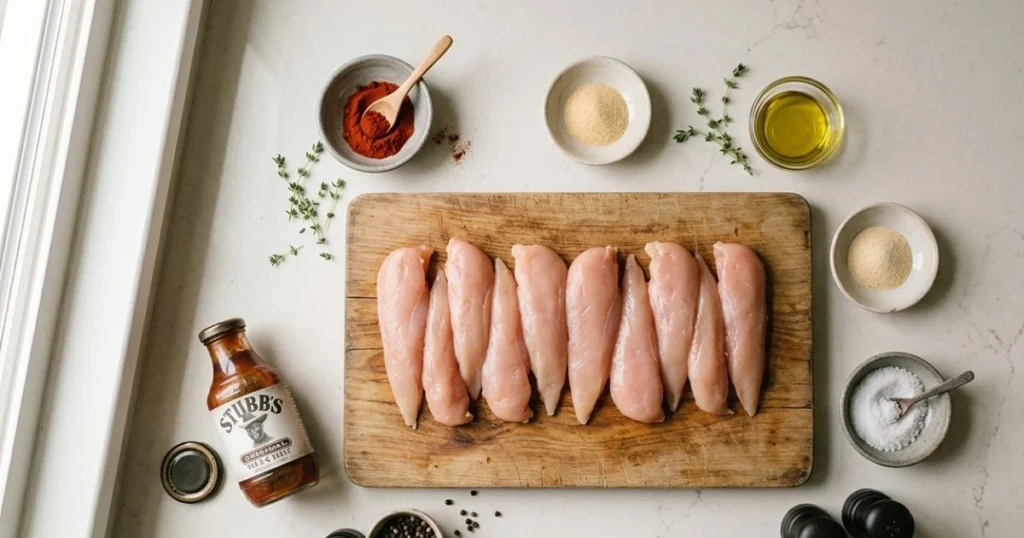
- 1.5 lbs chicken tenderloins – the thin, uniform shape cooks evenly in the air fryer basket; boneless, skinless chicken breast sliced into strips works as a substitute.
- 2 tbsp olive oil – helps the seasoning stick and encourages browning; avocado oil works too if you want a higher smoke point.
- 1 tsp smoked paprika – gives the tenders a deep, barbecue-appropriate color and a mild smokiness even without a grill.
- 1 tsp garlic powder – for savory depth; fresh minced garlic can scorch in the air fryer, so powder is safer here.
- 1/2 tsp onion powder – rounds out the flavor without adding raw onion texture.
- 1/2 tsp black pepper – for a little bite; freshly cracked if you have it.
- 1 tsp kosher salt – season to taste, less if your barbecue sauce is already salty.
- 1/2 cup barbecue sauce, divided – use your favorite bottled sauce or a homemade one; I like a sauce with some vinegar tang to cut the sweetness.
- Optional: 1 tbsp honey – stirred into the basting sauce for extra stickiness and shine.
- Optional garnish: chopped fresh parsley or chives – for color and a little freshness against the rich glaze.
You don’t need anything fancy beyond a standard basket-style or oven-style air fryer. I use a 5.8-quart basket model, and it fits about ten tenders in a single layer without crowding. If yours is smaller, plan on three batches instead of two — it’s worth the extra few minutes rather than stacking pieces on top of each other.
Step-by-Step Instructions
- Pat the chicken dry. Use paper towels to remove excess moisture from the tenderloins — this is the single biggest factor in getting a crisp exterior instead of a steamed one.
- Season generously. In a large bowl, toss the chicken with olive oil, smoked paprika, garlic powder, onion powder, salt, and pepper until every piece is evenly coated.
- Preheat the air fryer to 380°F for 3 minutes. A preheated basket gives you an immediate sear, which matters more for tenders than for thicker cuts.
- Arrange in a single layer. Place the tenders in the basket without overlapping — crowd them and you’ll get pale, soft spots instead of crisp edges. Cook in batches if needed, and don’t be tempted to squeeze in “just one more” piece to save a batch; it will cook unevenly.
- Air fry for 8 minutes, then flip. You should see the edges starting to turn golden brown and slightly crisp at this point.
- Cook 4 more minutes, then check the temperature. Insert an instant-read thermometer into the thickest tender; you’re looking for 165°F, which the USDA lists as the safe minimum internal temperature for poultry.
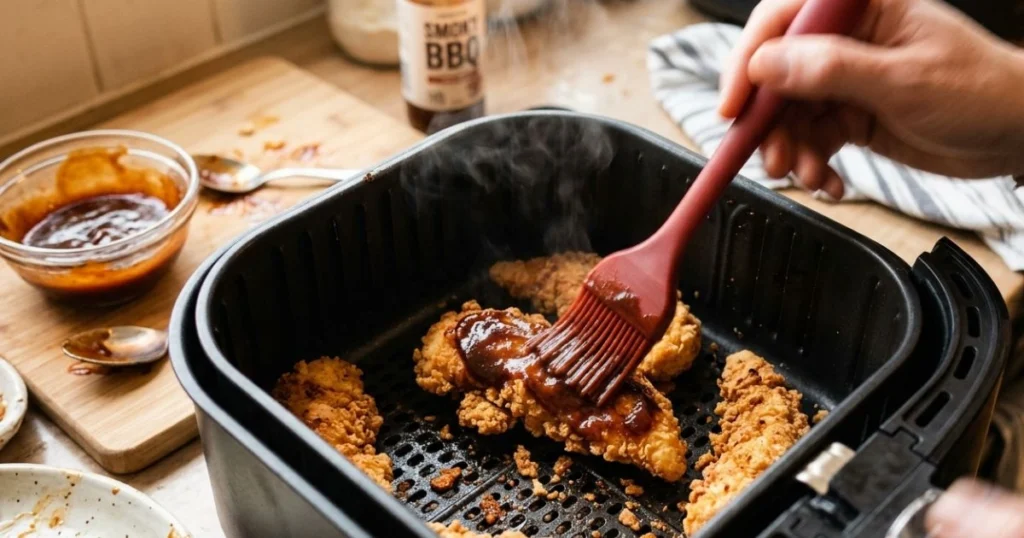
- Brush with barbecue sauce. Working quickly, brush half the barbecue sauce over the tenders while they’re still in the basket.
- Air fry 2 more minutes. This short final blast is what caramelizes the sauce into a sticky glaze instead of leaving it wet and runny.
- Rest for 3 minutes, then toss with remaining sauce. Resting lets the juices redistribute; tossing the warm tenders in the rest of the sauce gives you that glossy, restaurant-style finish.
- Garnish and serve. Scatter chopped parsley or chives over the top if you’re using them, and serve immediately while the glaze is still tacky.
Pro Tips & Common Mistakes
- Don’t sauce too early. My first attempt at this recipe went straight into the basket already coated in barbecue sauce, and the sugar in the sauce burned before the chicken cooked through. Save the sauce for the last few minutes.
- Don’t skip the flip. Air fryers cook from the top down more than people expect; flipping halfway prevents one side from staying pale and rubbery.
- Don’t crowd the basket. I once tried to fit an entire 2-pound package in one layer to save time, and the tenders in the middle came out soft instead of crisp. Two batches beat one bad one.
- Use a thermometer, not a timer alone. Tender thickness varies by brand and package, so times can shift by a minute or two — the internal temperature is what actually tells you it’s done.
- Let the air fryer preheat. Skipping this step is the most common reason people end up with tenders that are cooked through but never actually crisp.
- Pat the chicken dry before seasoning. Any surface moisture turns to steam in the basket, and steam is the enemy of crisping. I learned this the hard way after pulling straight-from-the-package tenders that were still damp, and the coating never fully set.
- Watch the sauce, not the clock, in the final two minutes. Different barbecue sauces have different sugar content, and a very sweet sauce can go from perfectly caramelized to scorched in under a minute. Peek through the window if your air fryer has one.
- Season under the surface, not just on top. Tossing the chicken thoroughly in the bowl, rather than sprinkling seasoning over tenders already in the basket, gets flavor into every bite instead of just the top layer.
Variations & Substitutions
- Spicy version: Add 1/4 teaspoon cayenne pepper to the seasoning mix and stir a dash of hot sauce into the barbecue sauce.
- Honey mustard swap: Replace the barbecue sauce with a honey mustard glaze for a tangier finish that pairs well with the same crispy technique.
- Gluten-free: Double-check your barbecue sauce label, since some brands use wheat-based thickeners; most major bottled sauces do offer a gluten-free version.
- Dairy-free: This recipe is already dairy-free as written, so it works well for mixed households without needing any swaps.
- Boneless chicken thighs: Cut into strips, thighs work well here too and stay slightly juicier, though they’ll need an extra 2–3 minutes of cook time.
- No air fryer: Bake at 425°F on a wire rack set over a sheet pan for about 18–20 minutes, flipping once, then broil for 2 minutes after saucing.
- Korean-style glaze: Swap the barbecue sauce for a mix of gochujang, soy sauce, and a spoonful of brown sugar for a sweet-and-spicy twist that still caramelizes the same way in the last two minutes.
- Breaded version: Dip the seasoned tenders in a light coating of panko before air frying for an extra-crunchy base under the glaze; add 2 minutes to the initial cook time to let the crumbs brown.
- Low-sodium option: Cut the added salt in half and choose a reduced-sodium barbecue sauce, since bottled sauces vary widely in sodium content.
Storage, Reheating & Make-Ahead Instructions
Store leftover tenders in an airtight container in the refrigerator for up to 3 days. For longer storage, freeze the cooked, unsauced tenders in a single layer on a tray, then transfer to a freezer bag once solid — they’ll keep well for up to 2 months.
To reheat, put the tenders back in the air fryer at 350°F for 4–5 minutes; this restores the crisp exterior far better than a microwave, which tends to leave the coating soft. If reheating from frozen, add about 3 extra minutes and check that they’re heated through to 165°F before serving.
You can season the chicken up to a day ahead and keep it covered in the refrigerator, which also gives the spices more time to penetrate the meat. If you’d rather marinate instead of dry-season, Federal food safety guidelines cap raw chicken marinating at one to two days in the fridge — going longer risks both food safety and a mushy texture.
If you’re prepping for a busy week, I’ll sometimes season a full batch on Sunday, portion it into freezer bags, and freeze it raw. On the night I want it, it thaws in the fridge during the day and goes straight into the air fryer that evening, no extra dishes and barely any extra thought required.
Serving Suggestions
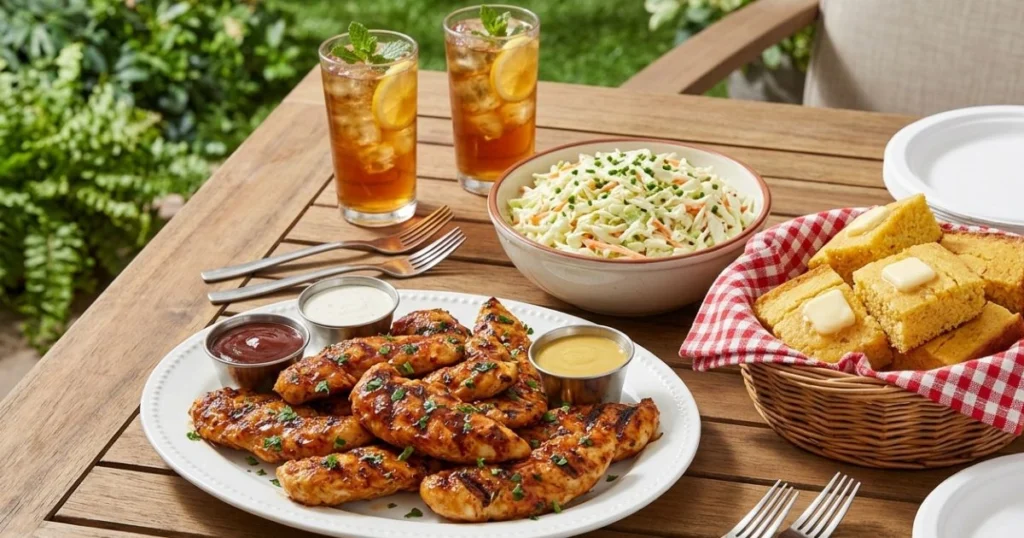
These tenders are hearty enough to be the main event with a simple side, but they also work well as party food. I usually serve them alongside coleslaw and cornbread for a full backyard-style dinner without ever turning on a grill. For a proper cookout spread, our BBQ side dishes roundup has more pairing ideas that hold up next to a sticky glaze like this one.
For a lighter meal, slice the tenders and pile them over a green salad with ranch dressing, or tuck them into a warm tortilla with shredded lettuce and pickles for a quick barbecue wrap. If you’re feeding a crowd from our Meat recipes collection, these tenders also make a great appetizer option cut into smaller pieces and served with extra sauce for dipping.
They also hold up well on a game-day spread next to other finger foods, since the sauce stays sticky rather than weeping onto the platter the way some slow-cooker barbecue dishes do. I’ve brought a double batch to a potluck before and come home with an empty dish every time, which is about as good a review as a recipe can get.
Frequently Asked Questions
Can I use frozen chicken tenders for this recipe? Yes, but thaw them fully in the refrigerator first. Cooking from frozen leads to uneven results, with the outside crisping before the inside reaches a safe temperature.
How long does it take to cook chicken tenders in the air fryer? Plain, unsauced tenders take about 10–12 minutes total at 380°F, with this recipe adding 2 more minutes after saucing for a total of roughly 12–14 minutes of actual cook time.
What’s the difference between chicken tenders and chicken tenderloins? They’re essentially the same cut — the small strip of meat attached to the underside of the breast — though “tenders” sometimes refers to breast meat that’s been sliced into strips rather than the naturally separate tenderloin muscle.
Can I make this recipe without an air fryer? Yes. Bake on a wire rack over a sheet pan at 425°F for about 18–20 minutes, flipping once, then finish with the barbecue sauce and a 2-minute broil for a similar glaze.
Do I need to flip the chicken tenders halfway through cooking? Yes — flipping halfway through ensures both sides get direct exposure to the circulating hot air, which is what gives you even browning instead of one crisp side and one pale side.
Is air frying healthier than deep frying these tenders? Generally, yes. Air frying uses only a small amount of oil compared to deep frying, and air-fried foods tend to be lower in fat and calories than their deep-fried counterparts while still delivering a crisp texture.
Can I double this recipe for a crowd? Yes, just cook in batches rather than overcrowding the basket, since overlapping tenders won’t crisp properly. Keep finished batches warm in a low oven while you finish the rest.
Why did my chicken tenders come out dry? This usually means they were left in a few minutes too long, since tenderloins are thin and go from juicy to overcooked quickly. Start checking the temperature at the 10-minute mark rather than waiting for the full cook time to be sure.
What barbecue sauce works best for this recipe? A sauce with some vinegar tang, rather than a purely sweet one, tends to caramelize better without tasting one-note. I usually reach for a Kansas City-style sauce, but a mustard-based Carolina sauce is excellent here too if you want something tangier.
Conclusion
This is the recipe I reach for on nights when I want something that tastes like it took effort but actually took twenty minutes, start to finish. The late-baste trick alone is worth remembering for any air fryer barbecue recipe you make going forward — it’s a small change that makes a bigger difference than almost anything else in this recipe. Give it a try this week, and don’t be surprised if it becomes a regular request at your table too.
Written by Clara Gonzalez, home cook and food writer.