
The Best Cheesecake and Red Velvet Cake Recipe You’ll Love
Table of Contents
A Delicious Cheesecake and Red Velvet Cake Recipe You’ll Love
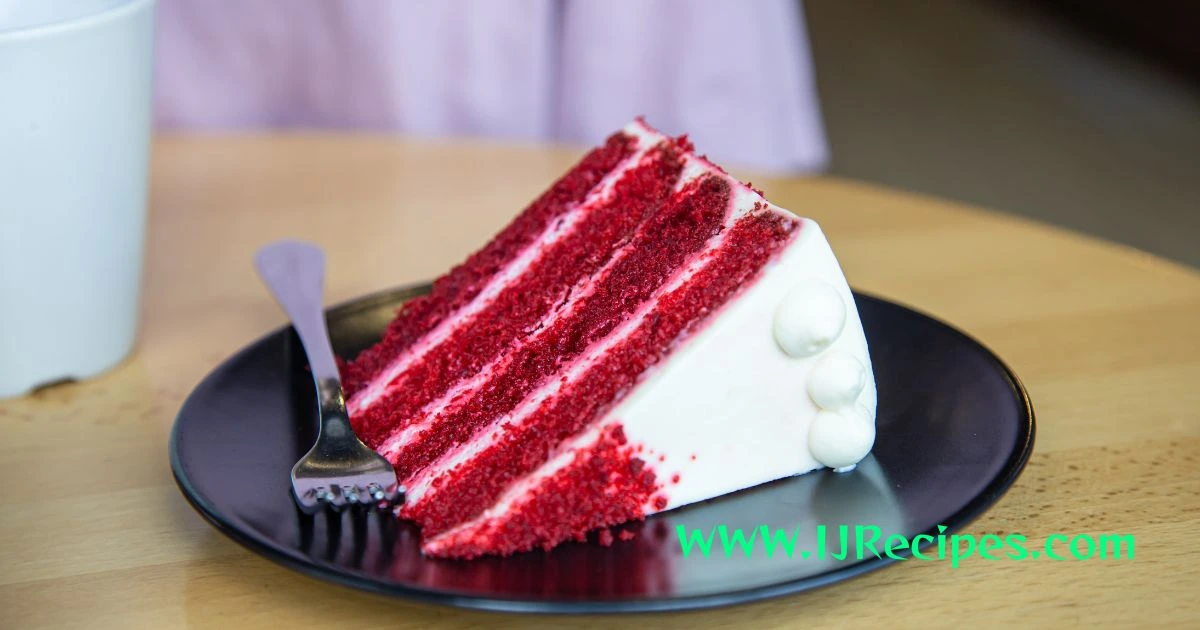
There’s a moment — right when your fork breaks through that crimson cake layer and hits the dense, creamy cheesecake beneath — that changes everything. It’s not just dessert anymore. It’s the kind of thing people talk about for weeks after the party. The kind of thing that earns you a reputation as that baker in your family.
If you’ve ever wished you could combine two of the world’s most beloved desserts into one jaw-dropping creation, today is your day. This cheesecake and red velvet cake recipe brings together the bold, cocoa-kissed drama of red velvet with the rich, tangy smoothness of baked cheesecake — all wrapped in a cloud of cream cheese frosting. The result? Something that looks like it came from a high-end bakery but was made entirely in your kitchen.
Let’s get into it.
Why This Cheesecake and Red Velvet Cake Recipe Deserves a Spot in Your Kitchen
You might wonder whether combining two complex desserts is worth the effort. Here’s the honest answer: yes, without question.
Red velvet cake on its own is already a crowd-pleaser. Cheesecake on its own rarely has leftovers. Together, they create a layered experience that satisfies multiple cravings at once — the lightness of cake, the richness of cheesecake, and the tang of cream cheese frosting tying everything together.
Beyond the flavor, this cake is a visual statement. The deep red layers against the pale, creamy cheesecake center make for a cross-section that genuinely stops people mid-conversation. If you’re baking for a birthday, holiday gathering, anniversary, or simply a weekend you want to make memorable, this recipe delivers every single time.
What You’ll Need: Ingredients Broken Down Simply
Before you fire up the oven, getting everything organized will make the process smooth and actually enjoyable. This recipe includes three parts: the red velvet cake layers, the cheesecake layer, and the cream cheese frosting.
For the Red Velvet Cake Layers
| Ingredient | Quantity |
|---|---|
| All-purpose flour (sifted) | 2½ cups |
| Granulated sugar | 1¾ cups |
| Unsweetened cocoa powder | 2 tbsp |
| Baking soda | 1 tsp |
| Salt | 1 tsp |
| Buttermilk (room temp) | 1 cup |
| Vegetable oil | 1 cup |
| Eggs (room temp) | 2 large |
| White vinegar | 1 tsp |
| Pure vanilla extract | 2 tsp |
| Red gel food coloring | 2 tbsp |
For the Cheesecake Layer
| Ingredient | Quantity |
|---|---|
| Full-fat cream cheese (softened) | 24 oz |
| Granulated sugar | ¾ cup |
| Eggs (room temp) | 3 large |
| Full-fat sour cream | ½ cup |
| Pure vanilla extract | 1 tsp |
| All-purpose flour | 2 tbsp |
For the Cream Cheese Frosting
| Ingredient | Quantity |
|---|---|
| Cream cheese (softened) | 16 oz |
| Unsalted butter (softened) | ½ cup |
| Powdered sugar (sifted) | 4 cups |
| Pure vanilla extract | 2 tsp |
| Heavy cream | 2–3 tbsp |
One important note before you begin: pull your dairy ingredients out of the fridge at least an hour before baking. Room-temperature cream cheese, butter, and eggs behave entirely differently than cold ones, and the difference shows up directly in your final texture.
Step-by-Step Instructions: How to Make This Cheesecake and Red Velvet Cake Recipe
Step 1 — Bake the Cheesecake Layer First
This is the step most home bakers skip or rush, and it’s the one that matters most. Your cheesecake layer needs time — at least six hours in the fridge, ideally overnight — so plan accordingly.
Preheat your oven to 325°F (163°C). Lightly grease a 9-inch springform pan and line the bottom with parchment paper. In your stand mixer, beat the cream cheese and sugar on medium speed until completely smooth, roughly three minutes. Add the eggs individually, mixing on low speed after each one. Overmixing here is the enemy — too much air creates cracks. Fold in the sour cream, vanilla, and flour until just combined.
Pour the batter into your prepared pan. Set it inside a large roasting pan and pour about an inch of hot water around it. This water bath is what separates a silky cheesecake from a rubbery one — the steam creates a gentle, even heat that bakes the cheesecake without shocking it.
Bake for 50 to 55 minutes. The edges should look set, but the center should still have a slight wobble. Turn off the oven, crack the door open, and let it sit undisturbed for a full hour. Then refrigerate it for at least six hours. This patience pays off in a layer that slices cleanly and holds its shape between the cake tiers.
Step 2 — Bake Your Red Velvet Cake Layers
With your cheesecake resting, turn your attention to the red velvet. Heat your oven to 350°F (175°C) and grease two 9-inch round cake pans, lining them with parchment paper.
Whisk your dry ingredients — flour, sugar, cocoa, baking soda, and salt — together in a large bowl. In a separate bowl, combine your buttermilk, oil, eggs, vinegar, vanilla, and red gel food coloring. The gel coloring is worth the extra trip to a baking supply store; it gives you that deep, vivid crimson that liquid coloring simply can’t match.
Slowly pour the wet mixture into the dry, stirring until just combined. Don’t overwork the batter. Divide it evenly between your pans and bake for 28 to 32 minutes. You’ll know they’re done when a toothpick inserted in the center comes out with just a few moist crumbs.
Let the layers cool in their pans for 10 minutes, then move them to wire racks to cool completely. Wrap them in plastic wrap once fully cooled — this traps the moisture and keeps them tender.
Step 3 — Make the Cream Cheese Frosting
In your mixer, beat the cream cheese and softened butter on medium-high until fluffy, about three to four minutes. Drop the speed to low and gradually add your sifted powdered sugar. Add the vanilla and heavy cream, then increase the speed again and beat until the frosting is smooth, airy, and spreadable. If it feels too soft, refrigerate it for twenty minutes before use.
Step 4 — Assemble Your Masterpiece
This is the moment everything comes together — and it’s genuinely exciting.
Place your first red velvet layer on a cake board or turntable. Apply a smooth, thin layer of frosting evenly over the top. Carefully remove your chilled cheesecake from the springform pan, peel away the parchment, and center it on top of the frosting. Add another thin frosting layer on top of the cheesecake. Place the second red velvet layer on top.
Now apply a crumb coat — a thin layer of frosting all over the exterior that seals in any loose crumbs. Refrigerate for thirty minutes, then apply your final, generous layer of frosting. Use an offset spatula to smooth the sides and top, or go for a rustic, textured finish — both look stunning.
For the finishing touch, crumble a small amount of leftover red velvet cake (trimmings from leveling the tops) across the top of the frosted cake. The burst of deep red against the white frosting is the detail that makes this cake unforgettable.
Expert Tips That Actually Make a Difference
Getting this cheesecake and red velvet cake recipe right comes down to a handful of key habits:
- Don’t rush the cheesecake cooling process. Thermal shock causes cracks and a grainy texture. The slow-cool method in a turned-off oven is non-negotiable.
- Use gel food coloring, not liquid. Gel delivers a more saturated color with less product and doesn’t thin out your batter.
- Level your cake layers. A serrated knife run across any dome on your red velvet layers ensures the finished cake sits straight and stacks cleanly.
- Chill the frosting before final application. A slightly firmer frosting is far easier to work with and holds its shape better on the finished cake.
- Slice with a warm, clean knife. Run your knife under hot water, wipe it dry, then slice. Repeat between each cut for clean, bakery-style slices.
How to Store This Cake Without Losing Quality
This cake actually gets better on day two once the flavors have had time to settle together. Here’s how to keep it at its best:
| Storage Method | How Long It Lasts |
|---|---|
| Covered in the refrigerator | Up to 5 days |
| Frozen (whole, well-wrapped) | Up to 2 months |
| Frozen (individual slices) | Up to 3 months |
Always bring slices to room temperature for about fifteen minutes before serving — cold cheesecake is good, but slightly tempered cheesecake is extraordinary.
Frequently Asked Questions About This Cheesecake and Red Velvet Cake Recipe
Can I use a box mix for the red velvet layers? Yes, and there’s no shame in it. A good-quality red velvet box mix saves time and still delivers great results. Just ensure the layers are completely cooled before assembly.
What if my cheesecake layer cracks? Don’t stress — any cracks will be completely hidden between the cake layers. If you want to prevent it next time, avoid overmixing and always use the water bath method.
Can I prepare this cheesecake and red velvet cake recipe in advance? Absolutely. The cheesecake layer can be made two days in advance. The red velvet layers can be baked the day before. Assemble the morning of your event and refrigerate until serving.
Can beginners attempt this recipe? Yes — each individual step is approachable. The key is simply planning ahead and not rushing the cooling and chilling times. Follow the steps as written and you’ll get there.
Your Next Step Starts Now
You now have everything you need to pull off one of the most impressive homemade desserts imaginable. This cheesecake and red velvet cake recipe isn’t just about the end result — it’s about the process of building something layered, intentional, and genuinely made with care.
So here’s your call to action: block off a weekend morning, gather your ingredients, and commit to baking something that will have people asking you for the recipe before they’ve even finished their first slice. Take a photo of that cross-section when you cut into it — you’ll want to remember it.
And if you try this recipe, share your experience in the comments. Tell us what you changed, what worked beautifully, and who got the first slice. Your story might be exactly what someone else needs to take the leap and start baking. Now go make something wonderful.