
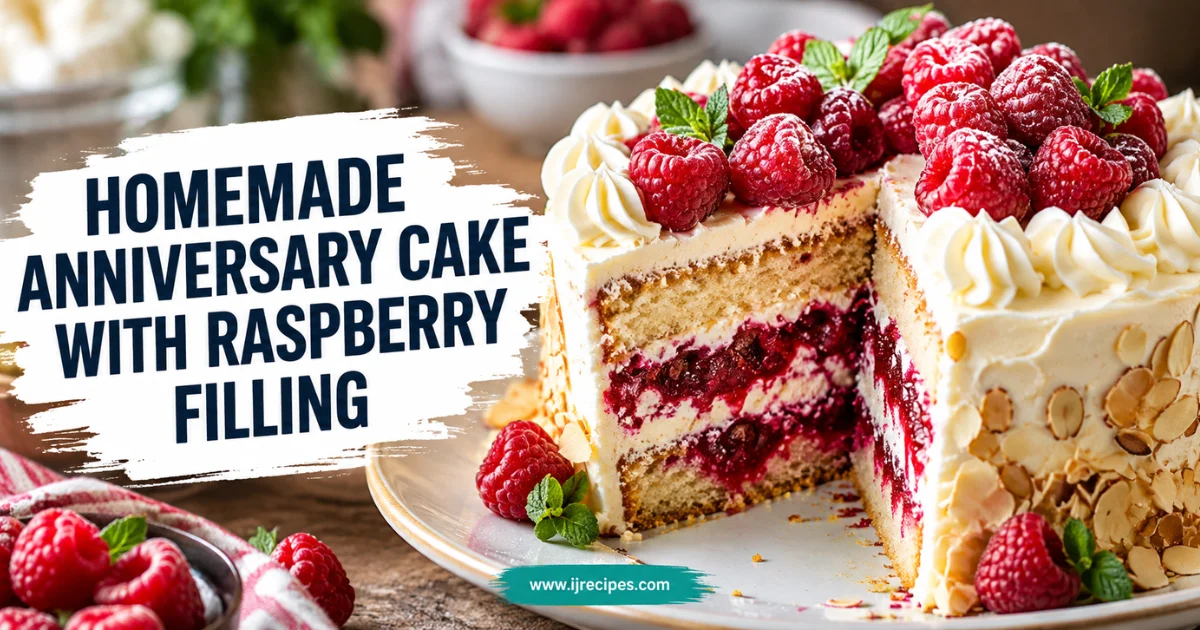
Homemade Anniversary Cake with Raspberry Filling
Table of Contents
Last June, my sister asked me to bake an anniversary cake for her tenth wedding anniversary. She wanted something that looked like a bakery cake but tasted like home. My first attempt came out of the oven with a dome like a hill and a gummy center.
I tested this anniversary cake four times before it was right. The final version has two soft vanilla layers, a tart raspberry filling, and smooth vanilla buttercream. It slices cleanly and holds up for a day in the fridge.
If you want a homemade anniversary cake that feels special without needing piping skills, this is the one I’d hand you.
Why This Anniversary Cake Works
I chose vanilla because it lets the raspberries stand out, and because almost everyone at a party likes it. Buttermilk gives the crumb a slight tang and keeps it tender for days.
The raspberry filling is cooked with a little cornstarch. Raw jam soaks into the cake and turns the layers soggy, but this filling stays put and tastes like fresh fruit.
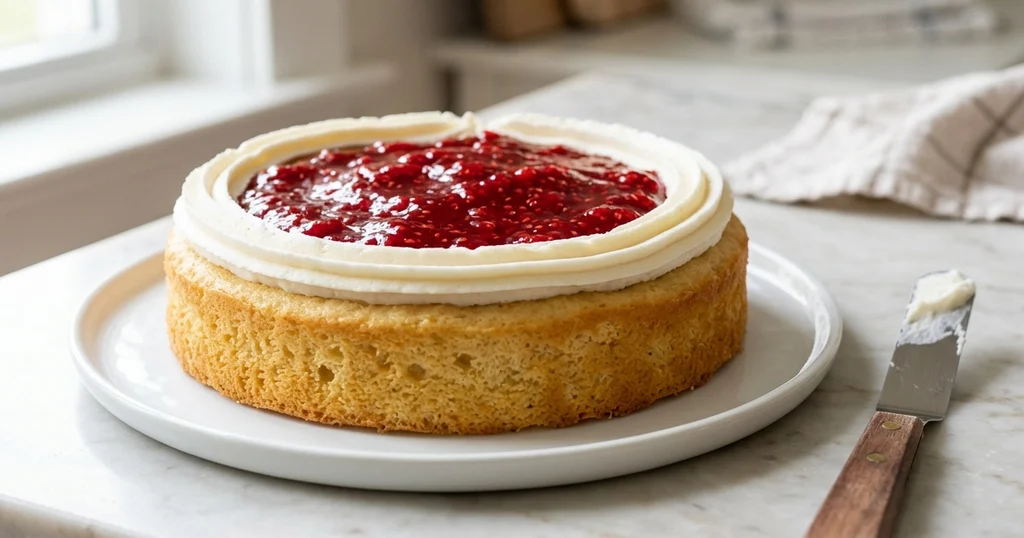
I also use a buttercream dam, a ring of frosting piped around the edge of each layer. It keeps the filling from leaking out the sides, which happened to me twice.
Ingredients for This Anniversary Cake
This makes one 8-inch, two-layer cake that serves 12.
For the Vanilla Cake Layers
| Ingredient | Amount | Why It’s There / Substitute |
|---|---|---|
| Cake flour | 2½ cups (300 g) | Gives a fine crumb; see FAQ for all-purpose |
| Baking powder | 2½ tsp | Lifts the layers evenly |
| Fine salt | ½ tsp | Sharpens the vanilla |
| Unsalted butter, softened | ¾ cup (170 g) | Richness; use room temperature, not melted |
| Granulated sugar | 1½ cups (300 g) | Sweetness and structure |
| Large eggs, room temperature | 3 | Bind the batter; cold eggs curdle it |
| Pure vanilla extract | 1 tbsp | The main flavor, so skip imitation |
| Buttermilk, room temperature | 1 cup (240 ml) | Tang and tenderness; milk plus 1 tbsp lemon juice works |
For the Raspberry Filling
| Ingredient | Amount | Why It’s There / Substitute |
|---|---|---|
| Raspberries, fresh or frozen | 1½ cups (190 g) | Tart contrast to the sweet cake |
| Granulated sugar | ¼ cup (50 g) | Balances the berries |
| Cornstarch | 1 tbsp | Thickens so the filling doesn’t leak |
| Lemon juice | 1 tbsp | Brightens the flavor |
For the Vanilla Buttercream
| Ingredient | Amount | Why It’s There / Substitute |
|---|---|---|
| Unsalted butter, softened | 1½ cups (340 g) | The base; it must be soft but still cool |
| Powdered sugar | 4 cups (480 g) | Sweetens and stabilizes |
| Heavy cream | 3 tbsp | Smooths the texture; whole milk works |
| Vanilla extract | 2 tsp | Flavor |
| Fine salt | Pinch | Cuts the sweetness |
Step-by-Step Instructions
Make the Raspberry Filling First
Cook It
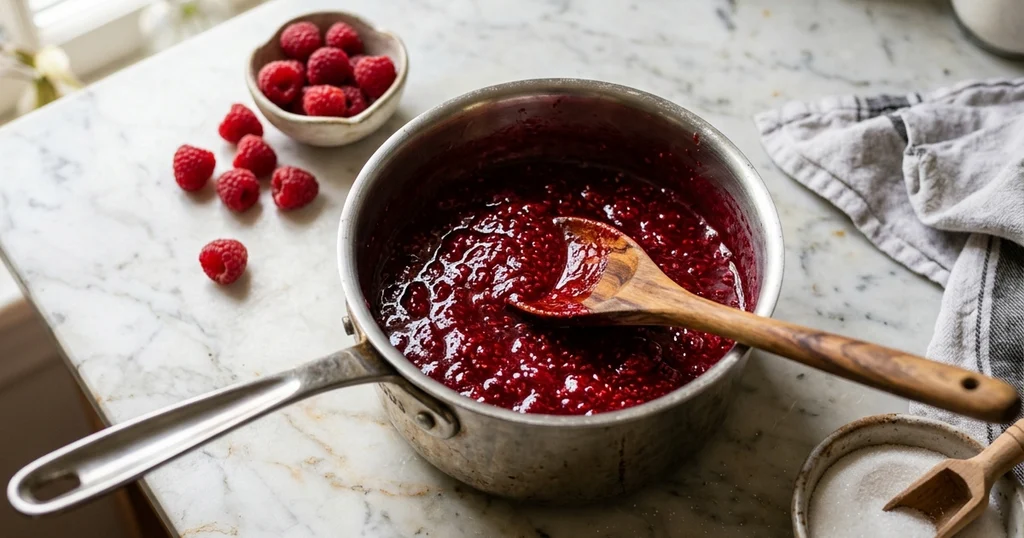
Combine the raspberries, sugar, cornstarch, and lemon juice in a small saucepan. Cook over medium heat, mashing the berries, for 5 to 6 minutes. It’s ready when it coats the back of a spoon and a line drawn through it holds.
Chill It
Scrape it into a bowl and refrigerate for at least 1 hour. Warm filling melts buttercream, so don’t skip the chill.
Bake the Anniversary Cake Layers
Prep
- Heat the oven to 350°F (175°C). Grease two 8-inch round pans, line the bottoms with parchment, and grease the parchment.
- Whisk the flour, baking powder, and salt in a bowl.
Mix
- Beat the butter and sugar for 4 minutes, until pale and fluffy. Don’t rush this, because the air you beat in is what lifts the cake.
- Add the eggs one at a time, beating 30 seconds after each. Beat in the vanilla.
- Add the flour mixture in three parts, alternating with the buttermilk in two parts, starting and ending with flour. Mix on low until just combined.
Bake
- Divide the batter evenly. A kitchen scale helps, and each pan should hold about 535 g.
- Bake 28 to 32 minutes, until the tops spring back and a toothpick comes out with a few dry crumbs.
- Cool in the pans for 10 minutes, then turn out onto a rack. Cool completely, about 1 hour, before frosting.
Make the Buttercream
- Beat the butter for 3 minutes until creamy and pale.
- Add the powdered sugar one cup at a time on low speed, then add the cream, vanilla, and salt.
- Beat on medium-high for 2 minutes. It should look fluffy and hold a soft peak.
Assemble the Anniversary Cake
Level and Dam
- Trim any dome off the layers with a serrated knife. Place the first layer on a plate or cake board.
- Pipe a ring of buttercream around the top edge, about ½ inch thick.
Fill and Stack
- Spoon the chilled filling inside the ring and spread it level.
- Set the second layer on top, bottom side up, so you get a flat surface. Press gently.
Frost
- Spread a thin crumb coat of buttercream over the whole cake. Chill 20 minutes.
- Add the final layer of buttercream and smooth it with an offset spatula dipped in hot water.
Pro Tips and Common Mistakes
My first batter looked curdled because I used buttermilk straight from the fridge. Cold liquid hardens the creamed butter. The cake baked up dense and short, so let your dairy and eggs sit out for 30 minutes.
Overmixing after adding the flour is the other big one. I once beat the batter for two extra minutes, and the layers came out tough and rubbery. Stop as soon as you no longer see dry streaks.
Don’t frost a warm cake. Mine slid apart in a sad pile on my second try. Wait until the layers feel cool to the touch.
Skipping the crumb coat leaves red specks in the white frosting. The 20-minute chill is what gives you a clean outer coat.
Finally, weigh your ingredients if you can. A cup of flour scooped straight from the bag can weigh 20 grams more than one spooned and leveled, and that’s enough to dry out a cake.
Variations and Substitutions
For a lemon anniversary cake, add the zest of two lemons to the sugar and rub it in with your fingers before creaming. Swap the raspberry filling for lemon curd.
For a chocolate version, replace ½ cup of the flour with unsweetened cocoa powder. Use a strawberry or cherry filling instead.
If you can’t find raspberries, blackberries or strawberries work the same way. Chop strawberries small so the filling spreads evenly.
For a smaller celebration, bake one batch in a 9×5 loaf pan for 55 to 60 minutes and frost it simply. It’s also a good shape if you’re making a mini anniversary cake for two.
To make it dairy-light, use a plant-based butter stick and oat milk with lemon juice in place of buttermilk. The crumb comes out a bit softer, but it holds together.
For related ideas, see layer cake recipes.
Storage, Reheating, and Make-Ahead Instructions
Room temperature: A frosted cake keeps for 1 day, covered, in a cool kitchen. Because the filling contains fruit, I prefer the fridge for anything longer.
Refrigerator: Store the cake in a covered container for up to 4 days. Take it out 45 minutes before serving so the buttercream softens and the crumb loosens.
Make-ahead layers: Wrap the cooled, unfrosted layers tightly and keep them at room temperature for 1 day, or in the fridge for 3 days. You can also freeze them for up to 2 months. Thaw them overnight in the fridge.
Make-ahead filling and frosting: The filling keeps 5 days in the fridge. The buttercream lasts 1 week; re-whip it for a minute before using.
Freezing slices: Chill the cut slices until firm, wrap them individually, and freeze for up to 1 month. Thaw in the fridge for 3 hours.
I usually bake the layers two days ahead and frost the day before the anniversary dinner. It spares me the stress and the cake slices better when it’s been chilled overnight.
Serving Suggestions
Cut the cake with a long knife dipped in hot water and wiped dry between slices. This gives you the clean layers you see in bakery photos.
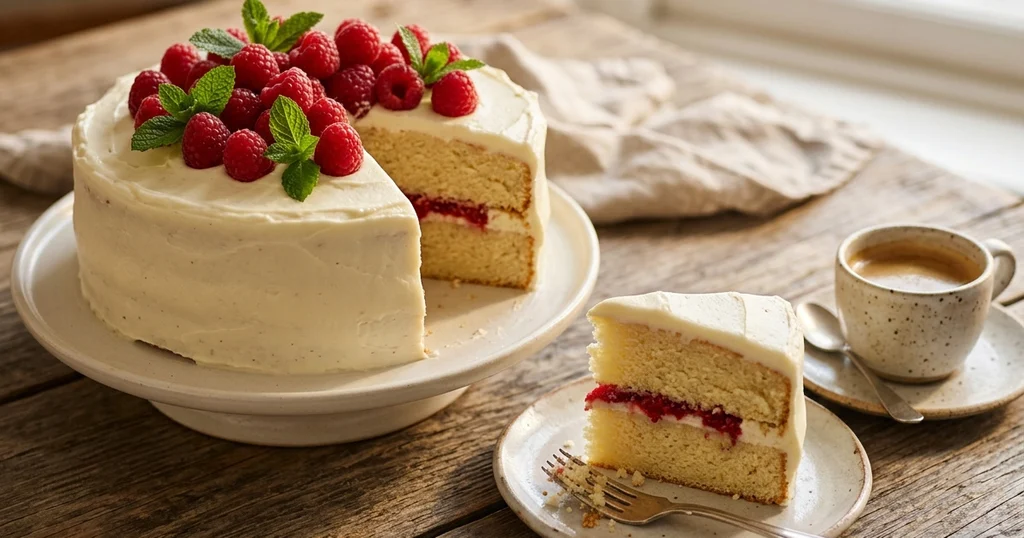
Top it with fresh raspberries and a few mint leaves, or sprinkle on freeze-dried raspberry powder for a pink dusting. For a romantic dinner, serve small slices with espresso or a glass of sparkling rosé.
For a family gathering, add vanilla ice cream or softly whipped cream on the side. If the crowd is large, pair it with a lighter dessert from easy dessert recipes so people can choose.
If you’re finishing the cake with a message, pipe it onto a piece of parchment first and trace it. That way, one slip won’t ruin the whole top of the anniversary cake.
FAQ
Can I use all-purpose flour for this anniversary cake?
Yes. For every cup of cake flour, use 1 cup minus 2 tablespoons of all-purpose flour, then add 2 tablespoons of cornstarch. Sift it twice. The crumb will be slightly firmer.
How far ahead can I make an anniversary cake?
You can bake the layers up to 3 days ahead, or freeze them for 2 months. I frost the cake 1 day ahead so the flavors settle.
How long does a buttercream-frosted cake last in the fridge?
Up to 4 days, covered. After that, the crumb starts to dry out and the filling softens.
What’s the difference between cake flour and all-purpose flour?
Cake flour has less protein, so it builds less gluten and bakes up softer and finer. All-purpose flour gives a sturdier, chewier crumb that’s better for breads.
Can I make this cake without buttermilk?
Yes. Stir 1 tablespoon of lemon juice or white vinegar into 1 cup of whole milk and let it sit 5 minutes. It gives a similar tang and tenderness.
Why did my cake sink in the middle?
The most common causes are opening the oven door early, underbaking, or too much baking powder. Wait until the last 5 minutes to check, and test with a toothpick.
Can I bake this in a 9-inch pan instead?
Yes, but the layers will be thinner. Start checking at 22 to 25 minutes. Fill the pans only halfway so they don’t overflow.
Conclusion
This anniversary cake is the one I make when I want something that tastes homemade but looks celebratory. The tart raspberry filling keeps every bite from tasting too sweet, and the buttercream dam keeps the layers neat.
Bake the layers early, chill the filling, and give yourself an unhurried afternoon for assembly. If you try it, let me know how your anniversary cake turned out in the comments.
Written by Oussama Ijammaane, home cook and food writer.