
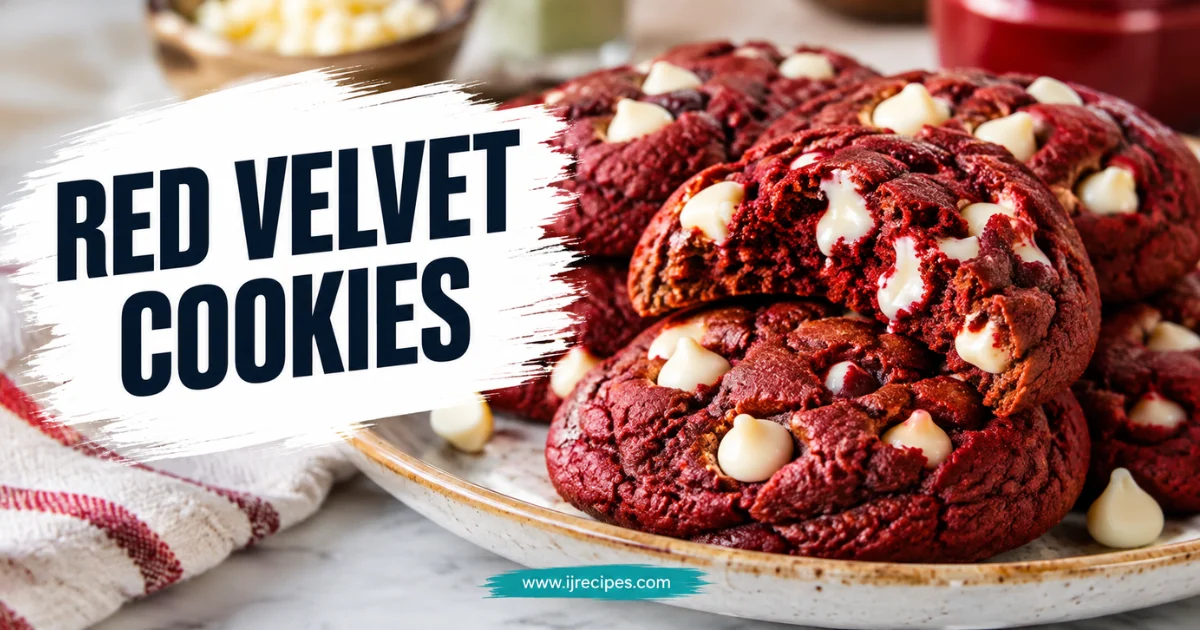
Red Velvet Cookies — Soft, Chewy & Irresistible
Table of Contents
My daughter has requested the same birthday dessert for three years running — not a cake, not cupcakes, just a big batch of red velvet cookies. The first time she asked, I thought it was a simple swap: red velvet cake batter, drop it on a sheet pan, call it done. What came out of the oven was a flat, greasy puddle of disappointment that spread into one giant cookie blob. Not exactly what a ten-year-old envisions for her birthday.
After two more test batches that week — one too cakey, one too crisp around the edges — I finally landed on a version that does exactly what red velvet cookies are supposed to do: hold their shape, stay chewy at the center, and deliver that deep cocoa-tinted flavor with just a hint of tang. The vibrant red color doesn’t hurt either. These have since become the most-requested cookie in my house, and I’ve made them for Valentine’s Day, Christmas trays, and everything in between.
Why This Recipe Works
The magic here comes down to three things: cold butter, the right ratio of cocoa to flour, and a short chill time. Cold (not softened) butter slows the spread, which is why your cookies stay thick rather than pancaking. A tablespoon of cocoa powder is enough to deepen the flavor without turning these into chocolate cookies — that subtle chocolate backbone is the whole point of red velvet. And the 30-minute dough chill isn’t optional filler advice; it’s what locks in the chewy center texture. I skipped it once when I was in a rush. The cookies were still good, but they spread thinner and lost that signature pillowy bite that makes red velvet cookies stand apart.
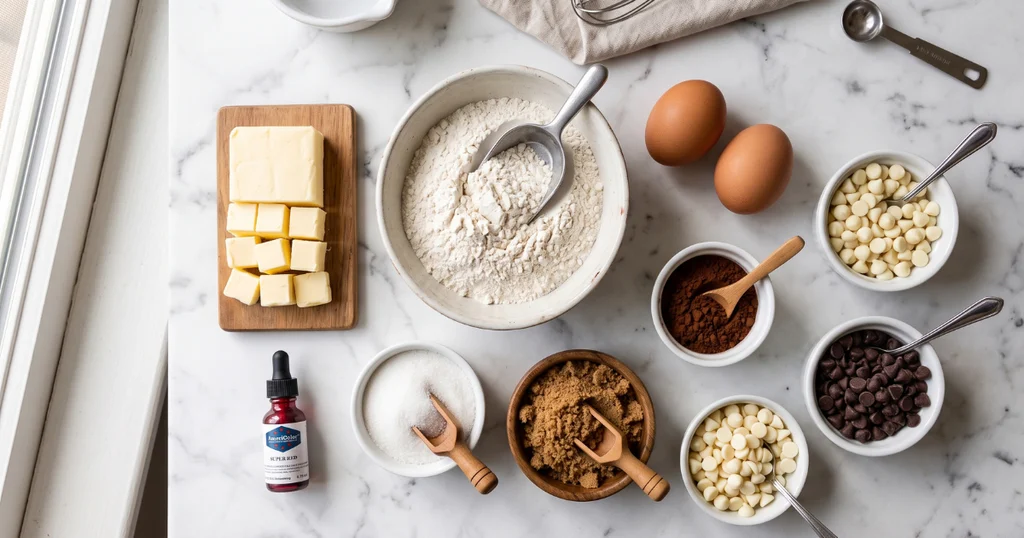
Ingredients
| Ingredient | Amount | Why It’s There / Substitute |
|---|---|---|
| All-purpose flour | 1¾ cups | Structure; cake flour gives a softer crumb if preferred |
| Unsweetened cocoa powder | 1 tbsp | Authentic red velvet flavor base; Dutch-process works too |
| Baking soda | ½ tsp | Lift and slight spread; don’t swap with baking powder |
| Salt | ½ tsp | Balances sweetness; fine sea salt works equally well |
| Unsalted butter, cold, cubed | ½ cup (1 stick) | Cold fat = less spread, chewier texture |
| Granulated sugar | ½ cup | Crisp edges and browning |
| Light brown sugar, packed | ½ cup | Moisture and chew; dark brown sugar deepens flavor |
| Large egg | 1 | Binds and adds richness |
| Egg yolk | 1 | Extra fat for fudgier center; omit for a lighter cookie |
| Vanilla extract | 1½ tsp | Rounds out the cocoa; don’t skip it |
| Red food coloring (gel) | 1½ tsp | Intense color without thinning the dough; liquid coloring works but use 1 tbsp |
| White wine vinegar | 1 tsp | Activates the baking soda; buttermilk powder is a substitute |
| Semi-sweet chocolate chips | 1 cup | Pockets of melted chocolate; white chocolate chips are a beautiful swap |
Step-by-Step Instructions
Phase 1: Mix the Dough
- Whisk together the flour, cocoa powder, baking soda, and salt in a medium bowl. Set aside.
- In a large bowl, beat the cold cubed butter with both sugars on medium speed for about 2 minutes — you’re not going for fluffy here, just combined and slightly creamy. The butter should still feel cool to the touch.
- Add the whole egg, egg yolk, vanilla, red food coloring, and vinegar. Beat on medium until the mixture is uniform and deeply red, about 1 minute. Scrape down the bowl halfway through.
- Add the flour mixture all at once and mix on low just until no dry streaks remain. Fold in the chocolate chips with a spatula. The dough will look glossy and feel slightly sticky — that’s correct.
Phase 2: Chill
- Cover the bowl with plastic wrap and refrigerate for at least 30 minutes. An hour is better if you have time. Don’t skip this step if you want thick, chewy red velvet cookies — warm dough spreads immediately and you lose all that height.
Phase 3: Bake
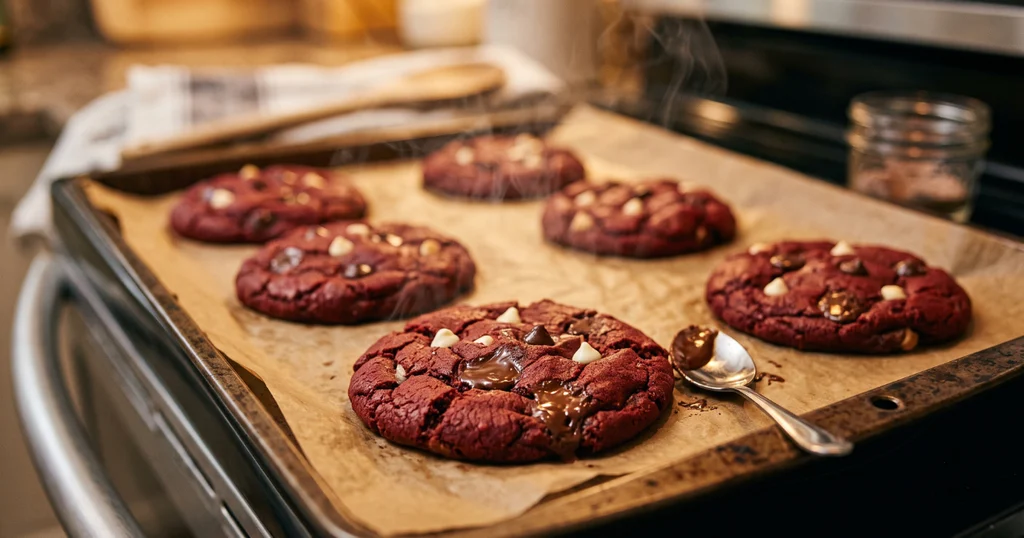
- Preheat your oven to 350°F (175°C). Line two baking sheets with parchment paper.
- Scoop the dough into balls roughly 1½ tablespoons each — a medium cookie scoop is your best friend here for uniformity. Place them at least 2 inches apart on the lined sheets.
- Bake one sheet at a time on the center rack for 10 to 11 minutes. The edges should look set and the centers should still appear slightly underdone — that’s what you want. They’ll firm up as they cool.
Phase 4: Cool
- Let the red velvet cookies rest on the baking sheet for exactly 5 minutes before transferring to a wire rack. Moving them too soon causes them to fall apart at the center; waiting too long causes them to stick. Five minutes is the sweet spot.
- Cool completely — at least 20 minutes — before stacking or frosting.
Pro Tips & Common Mistakes
Don’t use softened butter. I know most cookie recipes call for softened butter, and I made this mistake on my first attempt. Cold butter is the reason these red velvet cookies stay thick. If yours are spreading thin, your butter was too warm before mixing.
Gel coloring beats liquid. Liquid red food coloring can thin your dough slightly, making it sticky and harder to scoop. Gel coloring packs more pigment with less liquid — a 1½ teaspoon amount gives you that brilliant red.
Underbake, don’t overbake. If the center looks done in the oven, your cookies will come out dry on the counter. Pull them when the edges are set and the middle looks just a touch glossy.
Measure flour by weight or spoon-and-level. Packed flour is the number one reason cookies turn out dense and cakey rather than chewy. Spoon the flour into your measuring cup, then level it off — don’t scoop directly from the bag.
Room temperature egg makes mixing smoother. Run it under warm water for 30 seconds if you forgot to take it out early.
Variations & Substitutions
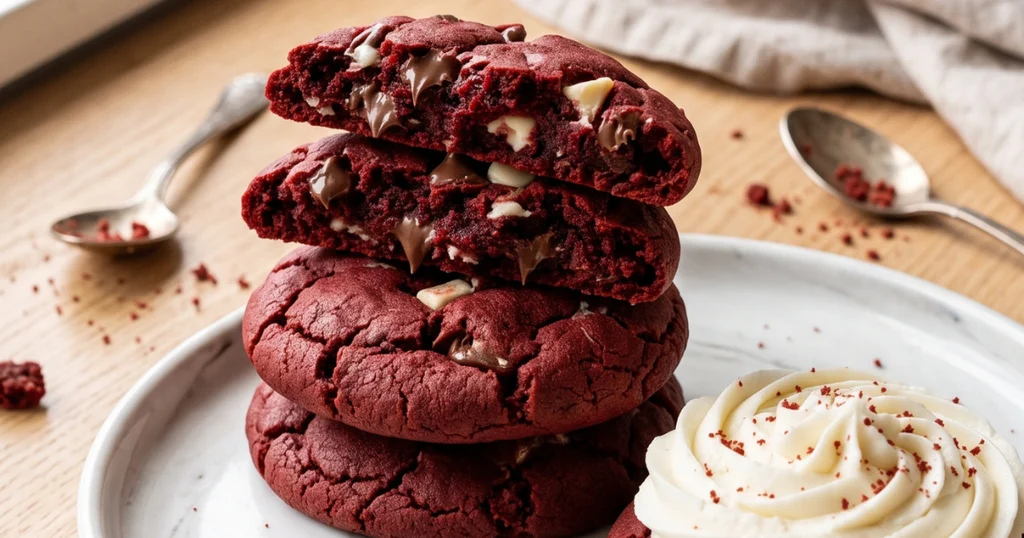
Red velvet cookies with cream cheese frosting: Whip 4 oz softened cream cheese with 1 cup powdered sugar and ½ tsp vanilla until smooth. Pipe or spread onto cooled cookies. This turns them into a genuine red velvet experience — tangy frosting against the slightly sweet cookie is outstanding.
White chocolate red velvet cookies: Swap the semi-sweet chips for white chocolate chips. The contrast between the red dough and white pools of chocolate is stunning and the sweetness level feels more balanced.
Gluten-free version: A 1:1 gluten-free flour blend (Bob’s Red Mill or King Arthur) works well here. The texture is slightly softer but still holds together.
Natural food coloring: Beet powder is the best natural option for red velvet cookies — start with 2 teaspoons. The color is more burgundy than crimson, but the flavor stays clean.
Red velvet sandwich cookies: Press two cooled cookies together with a layer of cream cheese frosting in the middle. These look spectacular on a holiday tray and hold their shape for gifting.
Storage, Reheating & Make-Ahead Instructions
Room temperature: Store baked red velvet cookies in an airtight container for up to 5 days. Layer with parchment paper between cookies to prevent sticking.
Freezing baked cookies: Freeze in a single layer on a baking sheet for 1 hour, then transfer to a zip-lock freezer bag. They keep for up to 3 months. Thaw at room temperature for 30 minutes.
Freezing the dough: Scoop the dough into balls, freeze on a parchment-lined tray until solid (about 2 hours), then store in a freezer bag for up to 3 months. Bake from frozen — add 2 to 3 extra minutes to the bake time and don’t skip the parchment.
Make-ahead tip: The dough refrigerates beautifully for up to 48 hours. Mix it the night before and bake fresh the next day — the extra chill time actually improves the flavor slightly.
Reheating: Warm individual red velvet cookies in the microwave for 10 seconds to revive that just-baked chew. Don’t go longer or they’ll harden as they cool.
Serving Suggestions
These red velvet cookies are genuinely beautiful on their own, but a few pairings make them even better. Set them out alongside a dessert board with the cream cheese frosting served as a dip on the side — people love the interactive element. For Valentine’s Day or Christmas, drizzle cooled cookies with melted white chocolate and a sprinkle of red sanding sugar. They’re also excellent crumbled over vanilla ice cream for a quick weeknight dessert. A tall glass of cold milk is, obviously, non-negotiable.
If you enjoy making holiday-worthy treats, you might also love our soft and chewy chocolate chip cookies or our classic cream cheese frosting for the perfect topping. Our red velvet cake uses many of the same pantry ingredients if you want to bake the full dessert experience this week.
FAQ
Can I make red velvet cookies without food coloring?
Yes. The cookies will taste identical — the coloring is purely cosmetic in red velvet recipes. You can use beet powder for a natural alternative, or simply embrace a deep chocolate-brown color and call them double cocoa cookies.
How long do red velvet cookies stay fresh?
Unfrosted, they stay soft and chewy for up to 5 days in an airtight container at room temperature. If frosted with cream cheese frosting, refrigerate and consume within 3 days since dairy-based frosting needs to stay cold.
What’s the difference between red velvet cookies and chocolate cookies?
Red velvet gets its distinct character from a small amount of cocoa (not enough to be fully chocolatey), a hint of acidity from vinegar or buttermilk, and that signature red color. Chocolate cookies use significantly more cocoa and no acidic element, which gives them a darker, more intense flavor. Red velvet is subtler — more vanilla-forward with a cocoa undertone.
Can I use a red velvet cake mix instead of making the dough from scratch?
You can. Mix one box of red velvet cake mix with 2 eggs and ⅓ cup vegetable oil, fold in chocolate chips, and bake at 350°F for 8 to 10 minutes. The texture is slightly more cakey than this from-scratch version, but it works well when you’re short on time. According to food science principles explained by Serious Eats, the fat and flour ratios in cake mix tend to produce a more tender, less chewy result.
Why do my red velvet cookies come out cakey instead of chewy?
Three culprits: too much flour (always spoon-and-level), skipping the egg yolk (it adds fat that promotes chewiness), or overbaking. Pull them slightly underdone and they’ll chew up perfectly as they cool. The science of cookie texture comes down to fat-to-flour ratio and bake time more than almost anything else.
Can I add sprinkles to the dough?
Yes, but use nonpareils (the tiny round ones) rather than jimmies (the long rod-shaped ones). Jimmies bleed color into the red dough and can turn it a muddy purple. Fold sprinkles in at the very end of mixing for the cleanest look.
Is red food coloring safe?
Standard red food coloring (Red 40) is widely used and approved by the FDA for use in food products. If you prefer to avoid synthetic dyes, beet powder or pomegranate powder are the most effective natural alternatives for red velvet cookies.
Conclusion
These red velvet cookies have made their way onto every holiday tray, bake sale box, and birthday celebration in my house for good reason. The dough is forgiving, the bake time is short, and the result is consistently beautiful — that brilliant red with crisp edges and a soft, chewy center. Once you nail the cold-butter technique and the short chill, you’ll have a recipe you reach for again and again. Make a double batch if you can. They disappear faster than you’d expect.
Written by Oussama Ij, home cook and food writer.