
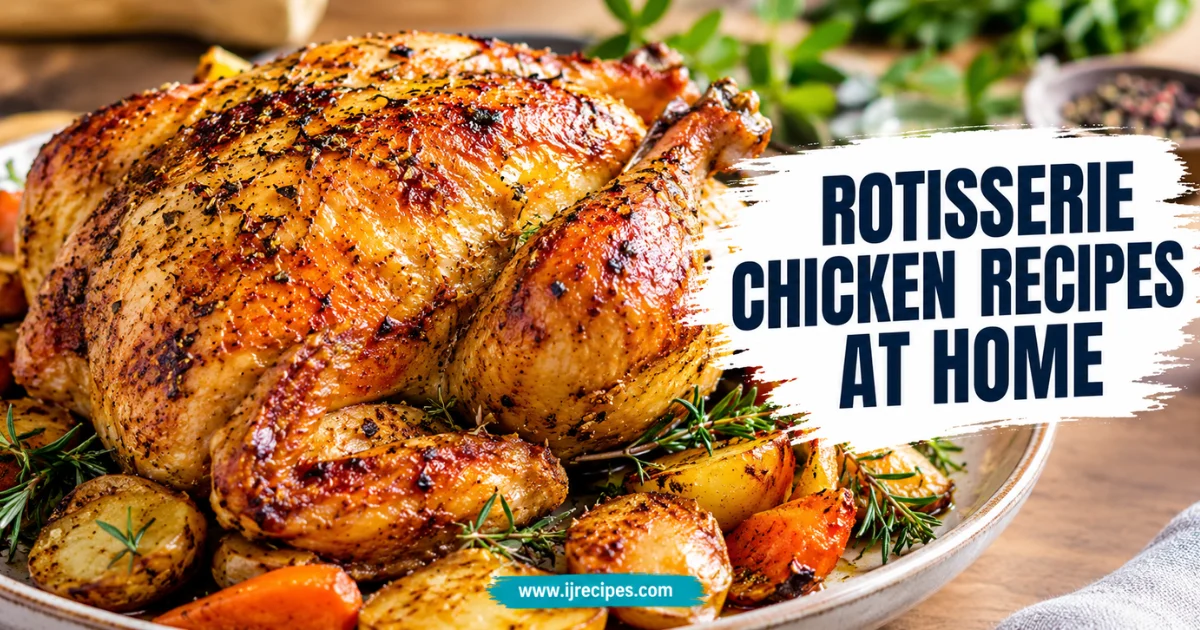
Rotisserie Chicken Recipes at Home: A Juicy, Crisp-Skinned Whole Bird
Table of Contents
Last October my sister asked me to stop buying the supermarket bird and make her one from scratch. Her kids finish a store-bought rotisserie chicken in a single sitting, and she wanted less salt and more flavor. I assumed it would be easy.
My first attempt had pale, rubbery skin and a dry breast, because I skipped the step I explain below.
Since then I’ve roasted this chicken five times in an ordinary home oven, adjusting salt, temperature and resting time. The best rotisserie chicken recipes don’t need a spit. They need dry skin, a hot start, and patience at the end. This version has golden skin, juicy meat, and enough pan juices to spoon over everything. It takes about 90 minutes in the oven, and almost none of that needs your attention.
Why This Rotisserie Chicken Recipes Works
A rotisserie bird tastes the way it does because it self-bastes as it turns. The fat from the skin runs down over the meat and the surface browns evenly. A home oven can’t spin, so I replicate those effects with three habits.
First, I dry-brine the chicken uncovered in the fridge overnight. The salt seasons the meat deeply, and the cold air dries the skin, which is what makes it crisp.
Second, I put softened butter under the skin so the breast gets the self-basting a spit would give it. Third, I roast on a bed of sliced onion, which lifts the bird off the pan and soaks up the drippings.
My test batches showed a clear difference. The overnight-brined chicken beat the same-day version every time, with crackly skin and noticeably juicier breast meat.
Ingredients for Homemade Rotisserie-Style Chicken
This makes one 4 to 5 lb (1.8 to 2.3 kg) chicken, which serves four to six people.
| Ingredient | Amount | Why It’s There / Substitute |
|---|---|---|
| Whole chicken | 1 (4–5 lb) | Smaller birds cook faster; check early. |
| Kosher salt | 1 tbsp | The dry brine. Use 2 tsp if using fine table salt. |
| Smoked paprika | 2 tsp | Gives the classic rotisserie color and a hint of smoke. |
| Sweet paprika | 1 tsp | Deepens the color; skip if you only have smoked. |
| Garlic powder | 2 tsp | Won’t burn like fresh garlic on the skin. |
| Onion powder | 1 tsp | Savory backbone. |
| Dried thyme | 1 tsp | Earthy note; dried oregano works too. |
| Black pepper | 1 tsp | Freshly ground gives better flavor. |
| Brown sugar | 1 tsp | Helps browning; white sugar is fine. |
| Baking powder | ½ tsp | Draws out moisture for crisper skin. Not baking soda. |
| Softened butter | 2 tbsp | Goes under the skin; olive oil also works. |
| Lemon | 1, halved | Perfumes the cavity as it steams. |
| Garlic | 1 head, halved | Sweet and mellow once roasted. |
| Yellow onion | 1 large, sliced | A roasting bed that also flavors the juices. |
| Chicken broth | ½ cup | Keeps the pan from scorching; water works. |
Step-by-Step Instructions
Before the Oven
Dry-Brine the Chicken (the Night Before)
- Take the chicken out of its packaging and pat it very dry with paper towels, inside and out. This is the step I skipped on my first try.
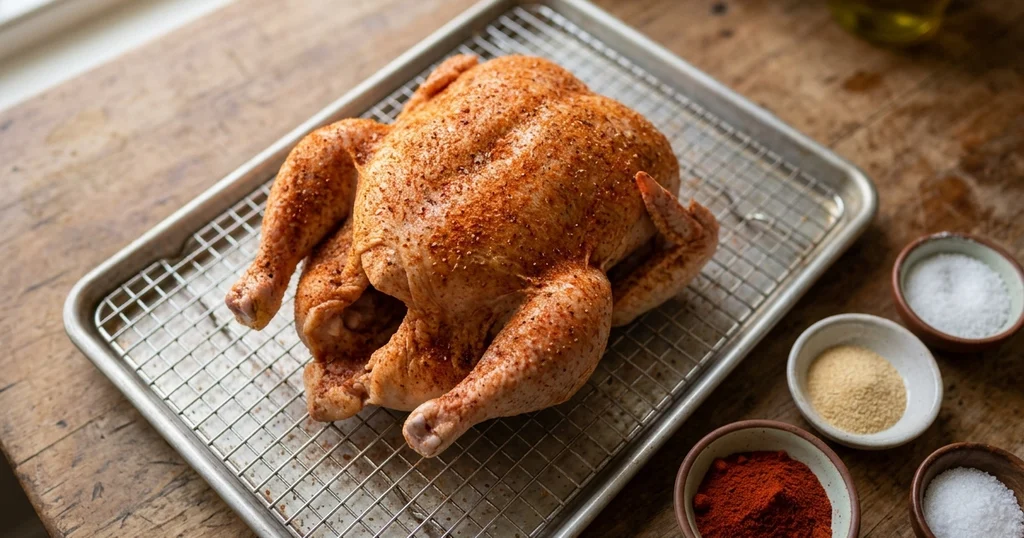
- Mix the salt, both paprikas, garlic powder, onion powder, thyme, pepper, brown sugar and baking powder in a small bowl.
- Slide your fingers under the breast and thigh skin to loosen it. Rub about a third of the mix directly onto the meat, then season the rest all over the outside and inside the cavity.
Rest It Uncovered
- Set the chicken on a rack over a tray and refrigerate it, uncovered, for 12 to 24 hours. The skin will look tight and slightly leathery, which is exactly what you want.
In the Oven
Prep the Pan
- Take the chicken out 45 minutes before roasting so it loses its chill. Heat the oven to 450°F (230°C) with a rack in the lower third.
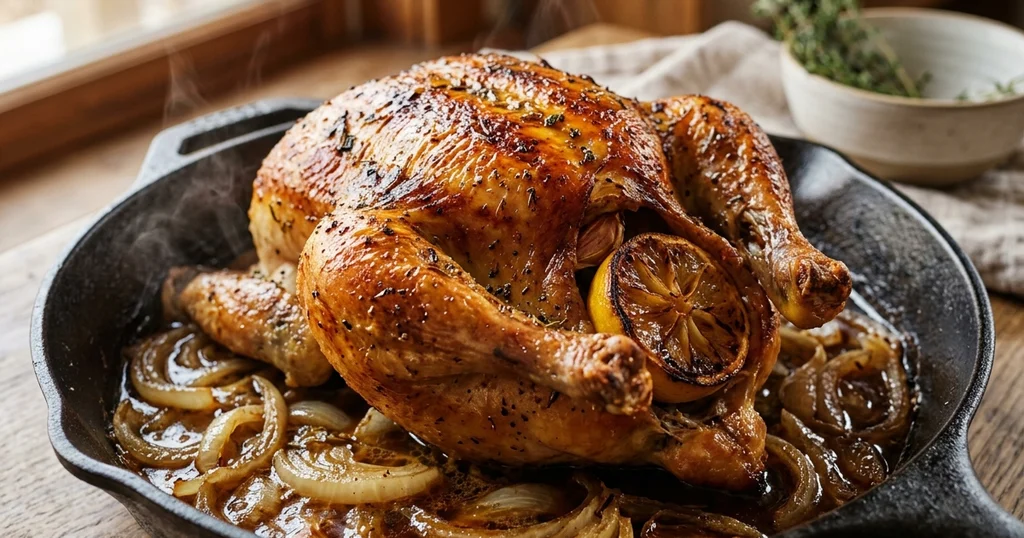
- Spread the sliced onion in a roasting pan or large cast-iron skillet and pour in the broth. Stuff the lemon halves and garlic into the cavity.
- Push the softened butter under the skin over the breasts. Tie the legs together with kitchen twine and tuck the wing tips behind the back.
Roast in Two Stages
- Set the chicken breast-side up on the onions. Roast at 450°F for 15 minutes, until the skin starts to blister and turn golden.
- Lower the heat to 375°F (190°C) without opening the door longer than necessary. Roast another 55 to 65 minutes.
- Start checking at 55 minutes. The USDA’s safe minimum for all poultry is 165°F (74°C), so confirm the breast reaches at least that with a food thermometer. I pull mine when the thickest part of the thigh reads 175°F (80°C), because dark meat is more tender at that point. Clear juices alone aren’t a reliable sign of doneness.
After the Oven
Rest, Then Carve
- Move the chicken to a board and let it rest for 15 minutes, loosely tented with foil if your kitchen is cold. Skipping this lets the juices run out onto the board instead of staying in the meat.
- Strain the pan juices and spoon off excess fat. Carve the bird and serve it with those juices poured over.
Pro Tips and Common Mistakes
Don’t cover the chicken in the fridge. My second attempt was salted properly but wrapped in plastic, and the skin came out soft. Open air is the secret.
Use a thermometer. Timing by the clock cost me a dry breast once. Ovens vary, and a 4-pound bird finishes much sooner than a 5-pound one.
Don’t stuff the cavity tightly. Packed herbs and aromatics block airflow and slow the cooking from the inside. Loose halves of lemon and garlic are plenty.
Skip basting. Opening the door drops the oven temperature and softens the skin. The butter and the bird’s own fat do the job.
Don’t use baking soda in place of baking powder. I tried it once and the skin tasted faintly metallic and browned too fast.
Rotisserie Chicken Variations and Substitutions
Once you have the technique, you can make many different rotisserie chicken recipes from the same method by swapping the seasoning.
- Lemon-herb: Replace the paprikas with 2 tsp lemon zest and add rosemary and parsley to the butter.
- Peri-peri style: Add 1 tsp cayenne and 1 tsp dried oregano to the rub, and brush with a little chili oil at the end.
- Moroccan: Use cumin, coriander, turmeric and a pinch of cinnamon in place of the paprika mix.
- Faster spatchcock version: Cut out the backbone, flatten the bird, and roast at 425°F for 45 to 50 minutes. The skin gets even crisper, though you lose the classic whole-bird look.
- Chicken pieces: Bone-in thighs with this rub cook in about 40 minutes at 425°F and make a good weeknight rotisserie-style chicken.
For more ideas on cooking poultry and other mains, browse the [INTERNAL LINK: Meat recipes category] on this site.
Storage, Reheating and Make-Ahead
Fridge: Strip the meat from the bones and store it in an airtight container for up to 4 days. Keep some pan juices with it so it stays moist.
Freezer: Portion the shredded meat into freezer bags, press out the air, and freeze for up to 3 months. Thaw overnight in the fridge.
Reheating: Warm pieces in a 325°F (160°C) oven for 15 to 20 minutes, covered, with a splash of broth. Microwaving works for single portions but softens the skin.
Make-ahead: The dry brine can sit for a full 24 hours, so the work happens the day before. You can also roast the chicken a day early and reheat it, though the skin won’t be as crisp as when it comes straight out of the oven.
Serving Suggestions
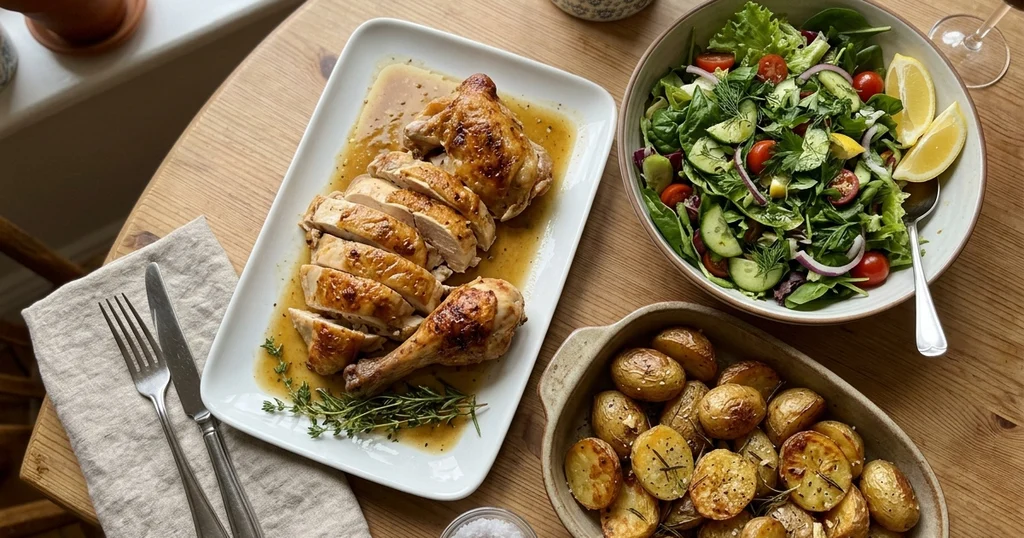
I serve this with roasted potatoes cooked in the same oven, since they fit on the lower rack. A simple green salad with a sharp lemon dressing cuts through the richness.
The leftovers are where homemade rotisserie chicken earns its keep. Shredded meat goes into tacos, quesadillas, fried rice, or a quick chicken salad sandwich for lunch.
If you want other quick dinners to round out the week, see the [INTERNAL LINK: easy recipes category]. For a sweet finish after a Sunday roast, the [INTERNAL LINK: pie recipes category] has a few good options.
Frequently Asked Questions
Can I make rotisserie chicken in a regular oven?
Yes. A regular oven can’t spin the bird, but a hot start, a dry-brined skin, and butter under the skin get you very close. The result is browned, juicy and well seasoned.
How long does it take to cook a rotisserie-style chicken in the oven?
A 4 to 5 lb chicken takes about 70 to 80 minutes total in this recipe, plus 15 minutes of resting. Always confirm with a thermometer: 175°F in the thigh and at least 165°F in the breast.
What’s the difference between rotisserie chicken and roast chicken?
Rotisserie chicken turns on a spit and bastes itself in its own drippings, giving even browning. Roast chicken sits still in the oven. With the techniques here, the two taste very similar.
Can I use a store-bought rotisserie chicken in other recipes?
Absolutely. Store-bought birds are handy for soups, casseroles and sandwiches. Homemade ones just give you control over the salt and seasoning.
How long does a leftover rotisserie chicken last in the fridge?
Cooked chicken keeps for 3 to 4 days in an airtight container. For longer storage, shred and freeze it for up to 3 months.
Why is my chicken skin not crispy?
The usual causes are moisture on the skin, covering it in the fridge, or opening the oven too often. Dry the bird thoroughly, brine it uncovered, and add the baking powder.
Final Thoughts on Homemade Rotisserie Chicken
After five rounds of testing, I’m confident that this is the method I’ll keep using. The overnight dry brine and the two-stage roast are what separate a good bird from a great one.
Start with the base recipe, then try a variation once you’re comfortable. My sister now asks for it every other Sunday, and her kids still finish it in one sitting.
Written by Oussama Ijammaane, home cook and food writer.