
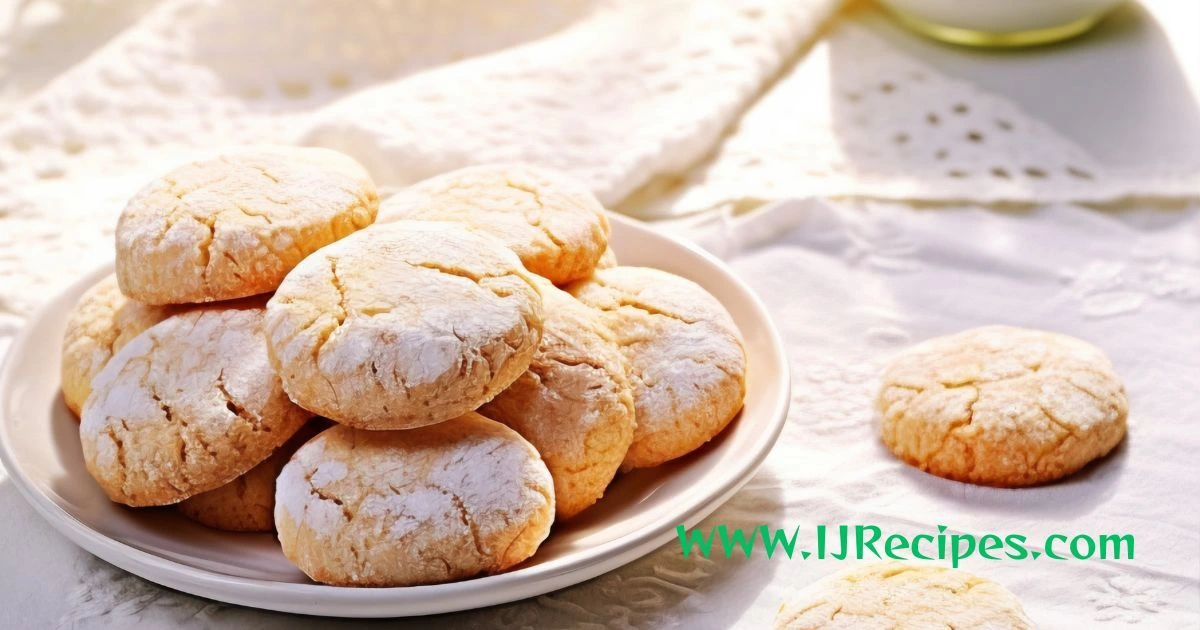
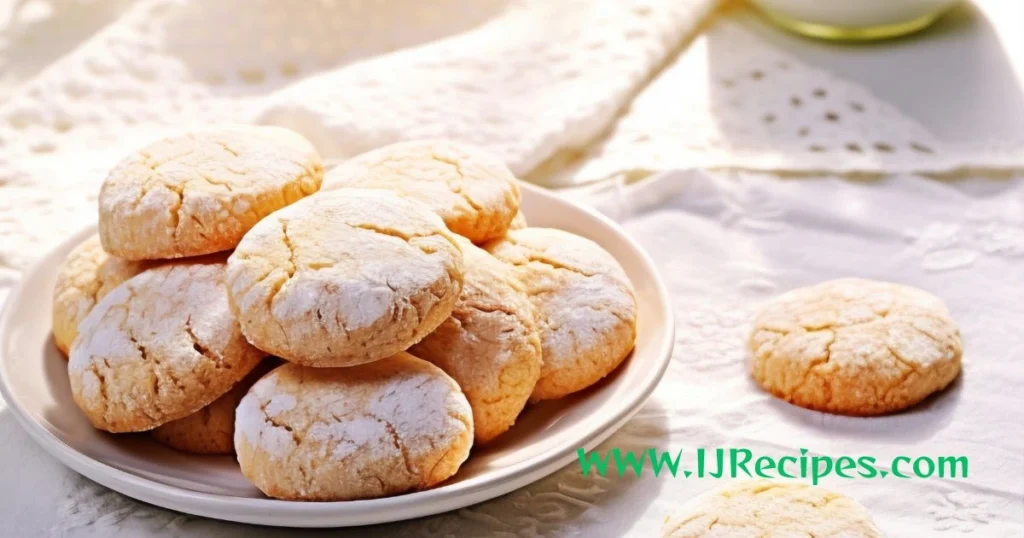
The Best Homemade Butter Cookies Recipe Ever
Table of Contents
Close your eyes for a second. Think back to a kitchen that smelled like warm vanilla and toasted butter — maybe your grandmother’s, maybe your own. There’s a reason that memory hits differently from most. Butter cookies have a quiet kind of power. They don’t need frosting mountains or stuffed centers to win you over. They just need four or five humble ingredients and a little bit of patience.
If you’ve been chasing a butter cookies recipe that genuinely delivers — one that gives you that perfect crisp edge, that delicate snap, and that rich flavor that melts the moment it touches your tongue — your search ends here. This is the recipe you’ll bookmark, print out, and pass down.
What Makes Butter Cookies So Irresistible?
Before you even preheat your oven, it’s worth understanding why homemade butter cookies are in a completely different league from anything sitting in a store-bought tin.
When you bake at home, you have complete control over every ingredient and step. You choose the quality of the butter. You decide how golden you want the edges. You customize the flavor without a preservative list longer than the recipe itself. And honestly? The process of making them — the creaming, the shaping, the smell that fills your kitchen — is half the joy.
The other half is eating them.
The secret that most recipes skip over is this: butter is not just an ingredient here — it’s the entire personality of the cookie. The fat content in your butter determines the tenderness. The temperature of your butter determines the texture. Use cold butter and you’ll fight the dough. Use melted butter and your cookies will spread into thin, flat discs. But use properly softened, room-temperature, high-fat unsalted butter — ideally 82% fat or higher — and something genuinely special happens.
Ingredients for the Best Butter Cookies Recipe
Here’s what you’ll need to make approximately 36 perfectly sized cookies:
| Ingredient | Amount | Notes |
|---|---|---|
| Unsalted butter | 1 cup (226g) | Room temperature, high-fat |
| Powdered sugar | ¾ cup (90g) | Sifted |
| Egg yolk | 1 large | Room temperature |
| Pure vanilla extract | 1½ tsp | Real vanilla only |
| All-purpose flour | 2 cups (240g) | Spooned and leveled |
| Cornstarch | 2 tbsp | The texture secret |
| Salt | ¼ tsp | Balances sweetness |
| Milk (optional) | 1–2 tbsp | Only if dough is stiff |
A quick note on that cornstarch: don’t skip it. It’s the ingredient that transforms your cookies from “pretty good” to “how are these so soft and crispy at the same time?” It breaks down the gluten in the flour, creating that soft, melt-in-your-mouth texture.
Step-by-Step Instructions
Step 1: Build Your Butter Base
Start by beating your softened butter in a large mixing bowl for a full two minutes on medium speed. You want it light, fluffy, and noticeably paler in color. This step matters more than people realize — it’s where you’re incorporating air into the dough that gives your cookies their lightness.
Add your sifted powdered sugar gradually and continue beating for another two to three minutes. Then add the egg yolk and vanilla extract, mixing until everything is completely smooth and uniform. Scrape down the sides of your bowl — those bits of unmixed butter hiding along the edges will haunt your cookies later if you don’t.
Step 2: Bring in the Dry Ingredients
In a separate bowl, whisk together your flour, cornstarch, and salt. Add this mixture to your butter base in three separate additions, mixing on low speed each time. The goal here is to stop the moment the dough comes together — overmixing develops gluten, and gluten is the enemy of a tender butter cookie.
Your finished dough should feel soft, smooth, and hold its shape without sticking to your hands. If it feels too stiff, add milk one tablespoon at a time.
Step 3: Shape Your Cookies
You’ve got three solid options here, and each one produces a slightly different result:
Cookie Press (Classic Rosette Style) Fill your cookie press and press the dough directly onto an ungreased, unlined baking sheet. The bare pan is important — it gives the dough something to grip. Space each cookie about 1.5 inches apart.
Rolled and Cut-Out Divide your dough into two discs, wrap them in plastic, and refrigerate for 30 to 60 minutes. Once firm, roll to about ¼-inch thickness on a lightly floured surface and cut into whatever shapes you like. Transfer to a parchment-lined sheet.
Slice and Bake Log Roll your dough into a 2-inch diameter log, wrap it tightly, and refrigerate for at least an hour. Slice into ¼-inch rounds when ready to bake. This method is perfect for keeping in your freezer so you can bake fresh cookies on demand.
Step 4: Bake Them Right
Preheat your oven to 325°F (163°C). The lower temperature is intentional — it allows your cookies to bake evenly without the bottoms browning too fast.
Slide them in and bake for 12 to 15 minutes. You’re aiming for edges that are lightly golden brown. The centers will look slightly underdone when you pull them out — that’s exactly what you want. They’ll firm up as they cool on the pan for five minutes, and then transfer them to a wire rack to finish cooling completely.
Don’t walk away after the ten-minute mark. Butter cookies have a narrow window between perfectly golden and over-baked, and you want to catch them right at the edge of it.
Tips That Separate Good Cookies from Great Ones
Getting a recipe right is one thing. Getting it consistently right every single time is another. These tips close that gap:
- Always use light-colored baking sheets — dark pans absorb more heat and brown the bottoms before the tops are done
- Chill your dough whenever it starts to feel too soft — even 15 minutes in the refrigerator brings it back
- Turn your baking sheet halfway through the baking time to ensure even browning.
- Measure flour correctly by spooning it into your measuring cup and leveling it off — never scoop directly from the bag, as this compacts the flour and throws off your ratio
- Let your baking sheets cool completely between batches — putting dough on a warm pan causes early spreading
How to Store Your Butter Cookies
One of the best things about this recipe is how well these cookies keep. Here’s a quick breakdown:
| Storage Method | Container | How Long |
|---|---|---|
| Room temperature | Airtight tin or container | Up to 2 weeks |
| Freezer (baked) | Freezer-safe bag | Up to 3 months |
| Freezer (raw dough log) | Plastic wrap + foil | Up to 3 months |
When you’re ready to enjoy your frozen baked cookies, simply set them out at room temperature for 30 to 60 minutes. If you’re baking from a frozen dough log, slice them straight from frozen and add two to three extra minutes to your bake time.
Flavor Variations Worth Trying
Once you’ve mastered the classic version, here’s where the fun really starts:
- Lemon Butter Cookies — Add one tablespoon of lemon zest and a teaspoon of fresh lemon juice to the butter base for a bright, citrusy lift
- Almond Butter Cookies — Swap the vanilla for almond extract and finish with a single sliced almond pressed into the center of each cookie
- Chocolate-Dipped — Dip one half of each cooled cookie into melted dark chocolate and let it set on parchment
- Earl Grey Infused — Stir in 1½ teaspoons of finely ground earl grey tea leaves for a sophisticated, floral note
- Festive Sprinkle Cookies — Press colored sanding sugar onto the tops before baking for instant holiday flair
Frequently Asked Questions About Butter Cookies
What makes butter cookies different from shortbread? Shortbread typically skips the egg entirely and tends to be denser and more crumbly. Butter cookies use an egg yolk, which adds richness and helps them hold a crisper, more defined shape.
Can I make butter cookies without using a cookie press? Absolutely. A large piping bag with a star tip works just as well. You can also roll and cut the dough by hand — no specialty equipment needed.
Why did my butter cookies spread too much? Nine times out of ten, it comes down to butter temperature. If your butter was too warm or partially melted, the cookies will spread before they have a chance to set. Always start with properly softened — not melted — butter.
Which type of butter works best for making butter cookies? European-style unsalted butter with at least 82% fat content gives you the most flavor and the most tender texture. Brands like Kerrygold or Plugrá are excellent choices.
Can I freeze butter cookie dough? Yes, and you absolutely should. The log method is perfect for freezing. Wrap it tightly in plastic wrap followed by a layer of foil and freeze for up to three months.
Your Butter Cookies Are Ready — Now Share Them
There really is something timeless about a well-made butter cookie. It doesn’t try to be anything it isn’t. It’s just butter, sugar, flour, and care — baked until golden, cooled until crisp, and shared with whoever’s lucky enough to be nearby.
Now that you have this recipe in your hands, don’t let it sit. Bake a batch this weekend. Experiment with a flavor variation. Pack some into a tin and bring them to someone who could use a little sweetness in their week.
And if this recipe becomes your new go-to — the one your friends ask for at every gathering, the one your kids remember years from now — leave a comment below and tell us how yours turned out. We’d love to hear about it.
Happy baking.