
The Best Cannoli Poke Cake Recipe – Easy & Creamy Italian Dessert
Table of Contents
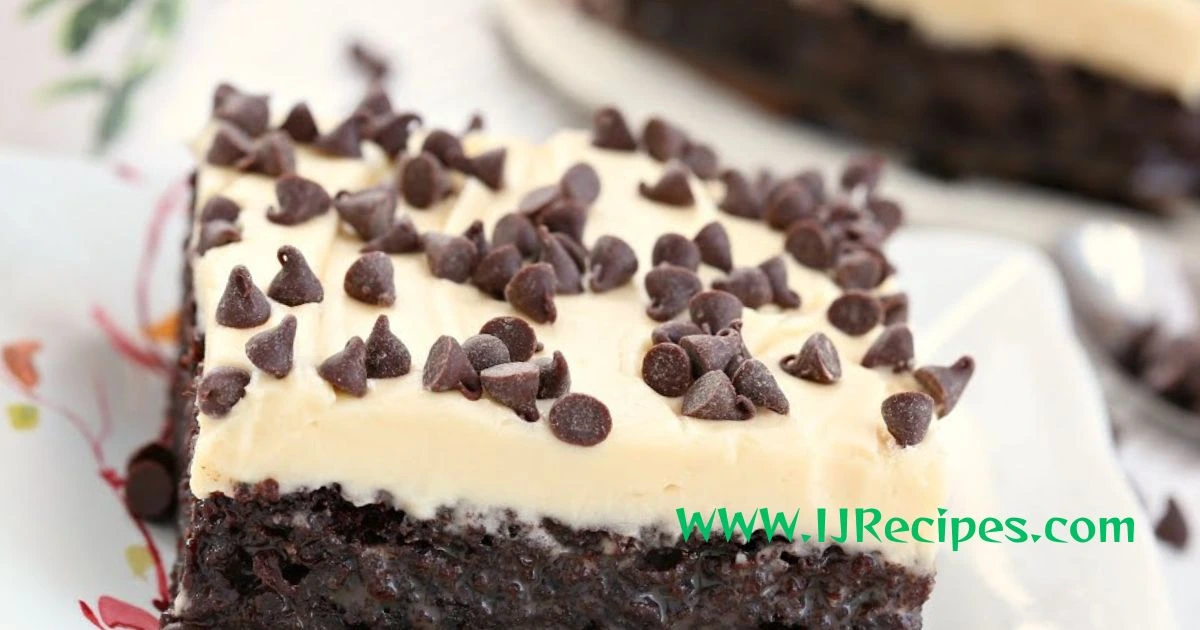
There’s something profoundly magical about that moment when you bite into a fresh cannoli. The crispy shell shatters between your teeth, giving way to that incredibly smooth ricotta filling studded with chocolate chips and candied fruit. It’s comfort, tradition, and indulgence all wrapped into one perfect bite. But here’s the thing—traditional cannoli demand serious time, specialized equipment, and a level of pastry expertise that intimidates most home bakers.
What if you could capture that exact same sensory experience and authentic Italian flavor without spending hours hand-rolling pastry shells or dealing with hot oil? This is where the cannoli poke cake recipe changes everything for you. This innovative dessert merges the beloved flavors of Sicily’s most iconic treat with the simplicity of a beloved American classic, creating something genuinely special that you can pull off in your own kitchen.
Understanding Your Cannoli Poke Cake
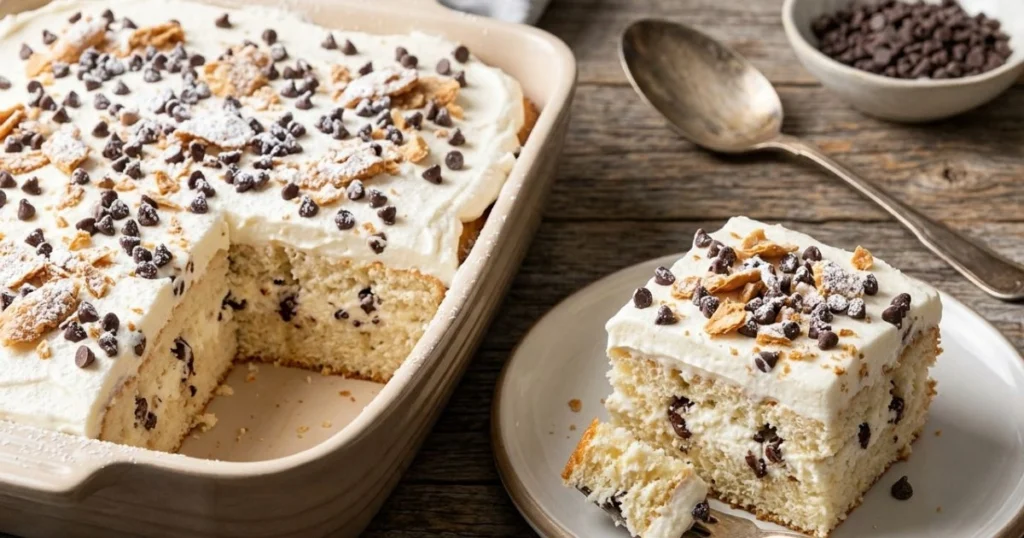
Before you dive into mixing bowls and measuring cups, let’s talk about what makes this dessert so brilliant. A poke cake works by creating small openings throughout the cake’s structure, allowing a flavorful filling to seep into every layer. When you combine this technique with traditional cannoli ingredients—creamy ricotta, dark chocolate, and candied oranges—you get a dessert where every single forkful delivers that authentic cannoli experience.
The genius here is that you’re not sacrificing authenticity for convenience. You’re actually enhancing it. Your guests will taste the unmistakable flavor profile they know and love, but they’ll be amazed at how effortlessly you brought it together.
Gathering Your Ingredients for Success

Your shopping list doesn’t require hunting through specialty stores, though quality matters considerably. Here’s what you’ll need:
For Your Cake Base: All-purpose flour, granulated sugar, baking powder, salt, eggs, whole milk, vegetable oil, and vanilla extract create a tender, moist foundation that perfectly supports your filling.
For Your Ricotta Filling: Fresh whole milk ricotta (this makes a noticeable difference compared to part-skim varieties), powdered sugar, rum or vanilla extract, mini chocolate chips, and candied orange peel give you that authentic cannoli character. If finding candied orange peel overwhelms you, you can make your own by simmering orange zest with sugar and water.
For Your Topping: Heavy whipping cream, powdered sugar, and maraschino cherries complete your masterpiece.
The most critical ingredient tip? Hunt down quality ricotta cheese. This isn’t the moment to grab whatever sits on the supermarket shelf. Look for whole milk ricotta that feels creamy and fresh—your final dessert’s texture depends on this choice.
Building Your Cannoli Poke Cake Step by Step
Starting With Your Cake Base
Your journey begins with proper preparation. Preheat your oven to 350 degrees Fahrenheit and ready a 9×13-inch baking pan with either greasing and flouring or a parchment paper lining. This simple step saves frustration when you remove your cooled cake.
Sift together your flour, baking powder, and salt in a medium mixing bowl. This aerates your flour and prevents dense pockets in your finished cake. In your larger mixing bowl, whisk together sugar, eggs, oil, and vanilla until the mixture becomes pale and fluffy—roughly two to three minutes of steady whisking.
Here’s where patience pays dividends: alternately add your flour mixture and milk to your wet ingredients, starting and ending with flour. This prevents your batter from becoming overworked, which would result in toughness. Pour the batter into the prepared pan and spread it evenly.
Bake for 30-35 minutes until a toothpick inserted in the center emerges clean. This is non-negotiable timing—bake a few minutes longer if needed, but don’t underbake. Your cake must be completely cool before the next step, so give it at least 90 minutes at room temperature.
Preparing Your Authentic Ricotta Filling
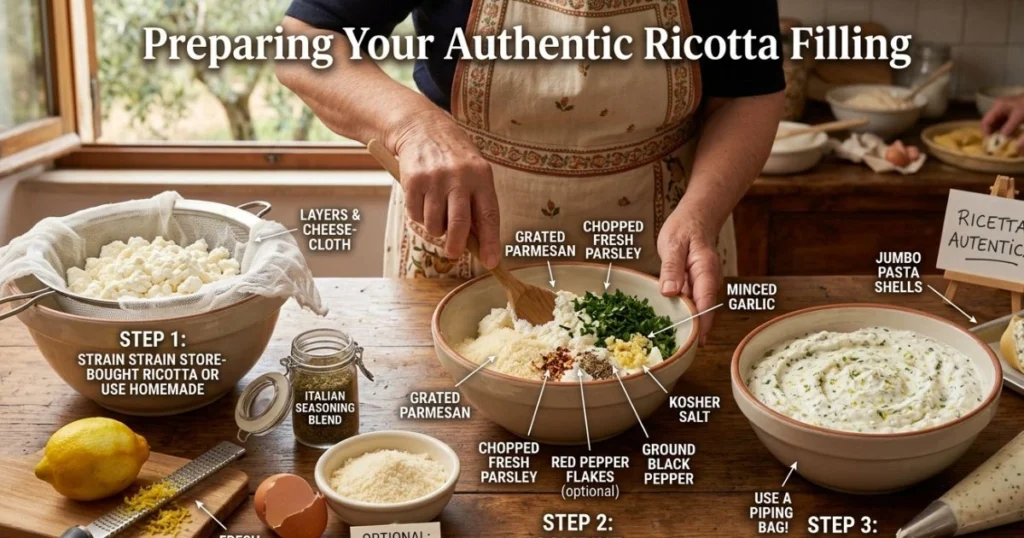
This step separates adequate from outstanding results. Strain your ricotta through a fine-mesh strainer for a full 15 minutes. This removes excess moisture that would otherwise seep into your cake, creating an unpleasant soggy texture. Many bakers skip this step and regret it later.
Combine your drained ricotta with powdered sugar in a mixing bowl, folding gently rather than stirring vigorously. Add your rum or vanilla extract, then fold in the mini chocolate chips and candied orange peel. Your filling should be thick enough to spread but soft enough to work into your cake’s poke holes.
The Critical Poke Technique
Place your cooled cake on your serving dish. Using a fork or wooden skewer, systematically poke holes throughout the entire cake surface, spacing them roughly half an inch apart. Poke deeply—roughly three-quarters of an inch down—but avoid penetrating completely through the bottom. These pockets become channels for your filling to distribute evenly.
Spread your ricotta filling over the entire cake surface, pressing gently so it works into those poke holes you’ve created. This ensures that every bite captures those essential cannoli flavors. Refrigerate for at least 30 minutes before adding your whipped cream topping.
Finishing With Whipped Cream
Refrigerate your mixing bowl and beaters for 10 minutes before using. Pour in your heavy whipping cream and beat on medium speed until soft peaks form. Gradually add powdered sugar while continuing to beat until stiff peaks appear—roughly three to four minutes total.
Spread this cloud of whipped cream across your filling, creating a luxurious topping. Garnish generously with additional chocolate chips, candied orange peel, and those bright maraschino cherries. Your creation is now ready to impress.
Why This Approach Outshines Other Methods
Traditional cannoli require frying skills, specialized pastry equipment, and significant time investment. Your poke cake version delivers identical flavor impact using your basic kitchen equipment. The preparation timeline compresses dramatically—you’re looking at roughly 20 minutes of active work plus baking and chilling time, compared to several hours for authentic hand-rolled cannoli.
More importantly, your cannoli poke cake actually improves overnight. As it sits refrigerated, the flavors marry together beautifully. The cake absorbs subtle moisture from the filling, becoming even more tender. You can prepare this completely one day ahead, adding fresh whipped cream just before serving.
Smart Storage and Make-Ahead Planning
Your refrigerator holds this dessert comfortably for three to four days when properly covered. The unfrosted cake actually freezes beautifully for up to two months when tightly wrapped in plastic wrap and foil. This makes your cannoli poke cake recipe an absolute game-changer for advance entertaining.
Here’s your optimal timeline: bake your cake two days before serving, add the ricotta filling one day ahead, and prepare your whipped cream topping within four hours of serving. This distribution of tasks keeps you from feeling overwhelmed while maintaining maximum freshness.
Common Challenges and How to Navigate Them
If your cake turns out drier than hoped, you likely used lower-fat milk or overbaked slightly. Whole milk makes a measurable difference in moisture content. Similarly, if your ricotta filling seems runny, that 15-minute draining step was skipped—this catches most people exactly once.
Should your whipped cream weep or separate, you probably overbeat it or didn’t chill your bowl sufficiently. Whipped cream peaks quickly, so stop beating the moment stiff peaks form rather than pushing further.
Elevating Your Presentation and Serving
Your cannoli poke cake deserves a beautiful presentation. Dust the top with powdered sugar for elegance. Create chocolate shavings using a vegetable peeler and scatter them artfully across the surface. Arrange candied peel in decorative patterns. When you serve individual slices, place them on nice dessert plates and perhaps add a small Italian cookie alongside.
Pair your creation with strong Italian espresso, a glass of Moscato d’Asti, or rich hot chocolate. These beverages complement the sweetness while enhancing the overall experience.
Making This Recipe Your Own
Consider subtle variations that match your preferences. A chocolate version incorporates two tablespoons of cocoa powder into your cake batter. The pistachio adaptation swaps half the ricotta for pistachio paste and tops everything with crushed pistachios. An amaretto version uses amaretto liqueur instead of rum for almond notes.
Your cannoli poke cake recipe also scales beautifully. Double the ingredients for two 9×13-inch cakes when feeding larger groups. Create individual servings by dividing batter into muffin tins and reducing baking time to 12-15 minutes.
Answering Your Lingering Questions
Can you really use a box cake mix? Absolutely, though homemade cake creates superior texture and deeper vanilla flavor.
How far ahead can you prepare this? Bake the cake two days ahead, add filling one day before serving, and top with whipped cream within four hours of presentation.
What if you need a dairy-free version? Coconut cream replaces heavy whipping cream, and dairy-free ricotta alternatives work well.
Does this dessert contain alcohol? Only if you add rum, and the amount bakes off significantly. Substitute vanilla extract for a completely alcohol-free version.
The cannoli poke cake recipe represents your shortcut to impressive, authentic Italian desserts without the complexity that typically intimidates home bakers. You’re capturing those transporting flavors and textures that transport you to a Sicilian bakery, but you’re doing it in your own kitchen with ingredients you can find at your regular supermarket.
Your Next Step
Stop telling yourself that restaurant-quality Italian desserts require professional training or hours of preparation. Your cannoli poke cake recipe proves otherwise. Gather your ingredients this week, set aside an afternoon, and create something that will have everyone asking for your secret. Your kitchen is about to become the place where authentic Italian tradition meets modern convenience.
The magic of a perfect cannoli is finally within your reach—no special equipment required, no intimidating techniques, just straightforward instructions that deliver impressive results. Your friends and family are waiting to taste what you’re about to create. Don’t keep them waiting any longer.