
The Best Cuisinart Ice Cream Maker Recipes for Creamy Homemade Desserts
Table of Contents
There’s a peculiar magic that happens when you watch cream slowly transform into silky, smooth ice cream right in your own kitchen. That moment—when you lift the lid of your Cuisinart ice cream maker and see the finished product—brings back childhood memories while creating new ones with your family. Unlike those mass-produced options gathering frost in grocery store freezers, the ice cream you churn at home carries something irreplaceable: the satisfaction of knowing exactly what goes into every spoonful.
If you’re ready to move beyond store-bought bowls and create desserts that’ll make your guests ask for your secret, you’ve landed in the right place. This guide walks you through everything you need to know about crafting exceptional frozen treats using your Cuisinart ice cream maker, complete with tested recipes and insider techniques.
Why Your Homemade Cuisinart Ice Cream Maker Recipes More Than You Think
Before diving into recipes, let’s talk about why this matters. Making ice cream at home lets you choose every ingredient yourself. No mysterious additives. No overly processed stabilizers. Just cream, milk, and flavors you actually recognize.
Research shows that 72% of home cooks want to prepare more desserts from scratch, yet most never attempt ice cream because it feels intimidating. Here’s the truth: it’s not. With the right approach and your trusty Cuisinart ice cream maker, you’ll achieve results that rival your favorite ice cream parlor.
The financial advantage alone is worth mentioning. Commercial ice cream costs between $15-25 per pint for premium varieties. Your homemade batches cost roughly $8-15 and make a full quart. After just 15-20 batches, your equipment investment pays for itself completely.
Understanding What Makes Cream Actually Creamy
Your Cuisinart ice cream maker works by simultaneously churning and freezing your base mixture. But achieving that velvety texture everyone craves requires understanding the science behind it.
The cream-to-milk ratio matters tremendously. Most professional recipes use a 2:1 proportion—two parts heavy cream to one part whole milk. This balance provides enough fat for richness without becoming overly heavy. The fat content (roughly 18-20%) creates that smooth mouthfeel that low-fat options simply cannot replicate.
Sugar does more than sweeten. It lowers your mixture’s freezing point, which means your ice cream stays scoopable straight from the freezer rather than rock-hard. Aim for 15-25% sugar content by weight. Too little, and your ice cream freezes solid; too much, and it never properly sets.
Egg yolks are your secret weapon. They act as natural emulsifiers, keeping everything smooth and preventing grainy, icy textures. Properly tempered eggs also ensure food safety while creating luxurious richness.
Preparing Your Base: The Foundation of Everything
Your success with Cuisinart ice cream maker recipes begins before you ever plug in your machine. The preparation phase determines whether you’ll end up with silky perfection or disappointing graininess.
Start by chilling your mixing bowl and beaters for at least 30 minutes. Heat your cream and milk together until steam rises (around 180°F), then temper your egg yolks by whisking them with sugar until pale and ribbony. This takes about 2-3 minutes of consistent whisking.
Here’s where patience becomes essential: slowly add your hot cream mixture to the eggs while whisking constantly. This gradual combination prevents scrambled eggs while creating a smooth base. Continue cooking over gentle heat, stirring constantly, until your mixture reaches exactly 170°F. Use an instant-read thermometer—don’t eyeball this.
Strain your finished custard through a fine-mesh sieve into a bowl. This removes any cooked egg particles and creates a silky-smooth texture that separates amateur attempts from professional-quality results.
Now comes the hardest part for most people: patience. Your base must chill for minimum 4 hours—overnight is genuinely better. This extended chilling time allows flavors to develop and gives you superior texture in your finished Cuisinart ice cream maker recipes. Many experienced chefs prepare their base a full day ahead.
Five Recipes That’ll Transform Your Dessert Game
Classic Vanilla Bean Ice Cream: Where Masters Start
Vanilla might seem simple, but it teaches you everything about proper technique. Choose one whole vanilla bean over extract whenever possible—the difference in flavor is remarkable.
Split your vanilla bean lengthwise and scrape out those tiny seeds. Add the seeds and the empty pod to your heating cream and milk. This step blends real vanilla evenly throughout, not just on the surface.
After your custard finishes cooking and you’ve strained it, you’ll have a beautiful, fragrant base ready for chilling. When you finally churn it in your Cuisinart ice cream maker (for 20-25 minutes until the motor noticeably slows), you’ll understand why vanilla remains the world’s favorite flavor.
The finished product should pull slightly away from the sides of your machine—that’s your sign it’s perfectly done. Transfer immediately to a freezer-safe container and freeze for at least 4 hours before serving.
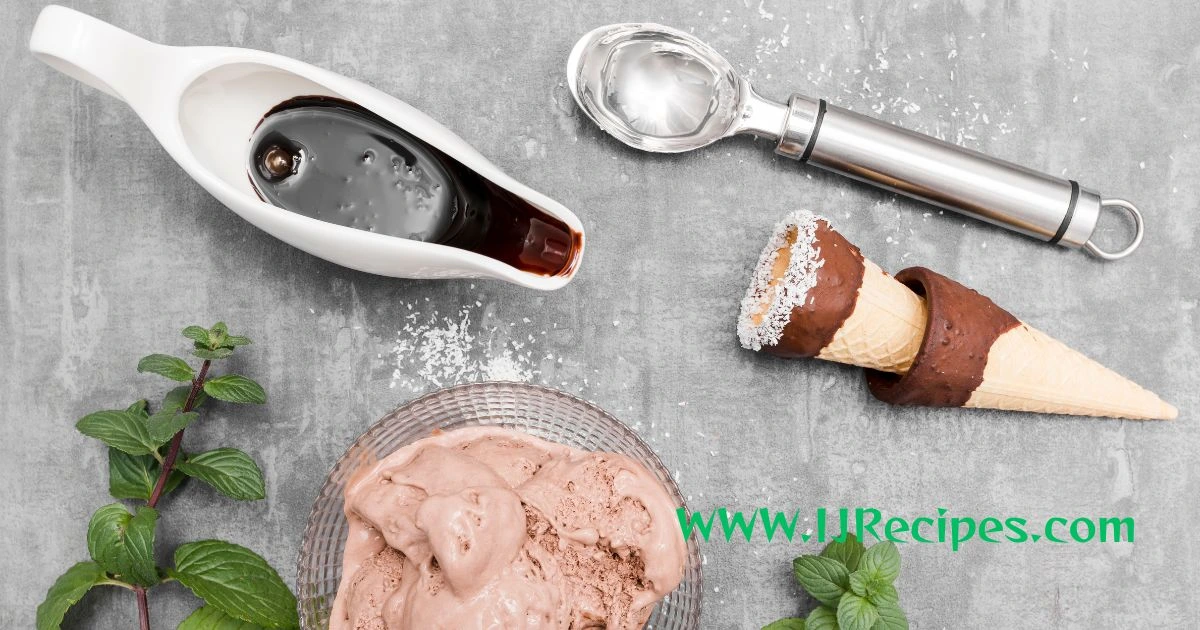
Dark Chocolate Ice Cream: For the Serious Chocolate Lover

This recipe proves that bold flavors and creamy texture aren’t mutually exclusive. Using high-quality 70% dark chocolate and Dutch-processed cocoa powder creates something genuinely remarkable.
Whisk your cocoa powder thoroughly with sugar before adding it to anything. This prevents clumps that would ruin your texture. When your cream reaches temperature, combine it with your cocoa-sugar mixture slowly while whisking constantly. Add your finely chopped chocolate and let it sit for one minute before whisking—this brief rest allows the residual heat to melt everything evenly.
The extended chilling time—6 hours or overnight—is non-negotiable here. Chocolate flavors need time to develop fully. When you finally churn this in your Cuisinart ice cream maker, you’ll create something that tastes like it came from an upscale chocolaterie.
Strawberry Shortcake Ice Cream: Fresh Fruit Perfection
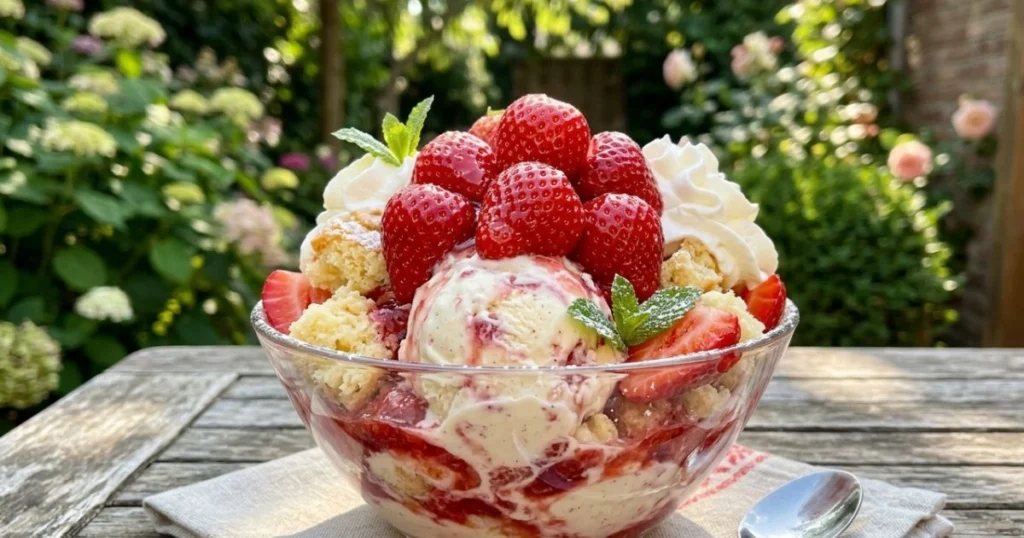
Fresh fruit brings complications—mainly that the water content can create icy textures. The solution lies in cooking your strawberries with sugar and lemon juice until they release their juices, then straining out the seeds.
This cooked-and-strained approach concentrates flavors while creating a smooth consistency. Add this mixture to your prepared custard base just before chilling. The acid from lemon balances everything beautifully.
For maximum impact, consider folding in actual shortcake pieces during the final minute of churning. Your Cuisinart ice cream maker will incorporate them throughout, creating pockets of texture in every scoop.
Salted Caramel Butter Pecan: The Advanced Move
This recipe rewards careful attention and proper technique. Making caramel requires steady nerves and a reliable candy thermometer. Combine sugar in a heavy-bottomed pan and let it sit over medium heat without stirring—just tilt the pan occasionally to ensure even heating.
Watch it carefully. When it reaches deep amber (around 350°F), remove it immediately. Add butter, stir until melted, then slowly add warm cream while being cautious of the steam and bubbles. Stir in sea salt—yes, sea salt changes everything here.
Incorporate this cooled caramel into your prepared custard base, along with vanilla and a touch of fine sea salt. During the final moments of churning in your Cuisinart ice cream maker, fold in toasted, chopped pecans. This timing prevents the nuts from becoming too fine while ensuring they distribute evenly.
Mint Chocolate Chip: The Natural Approach
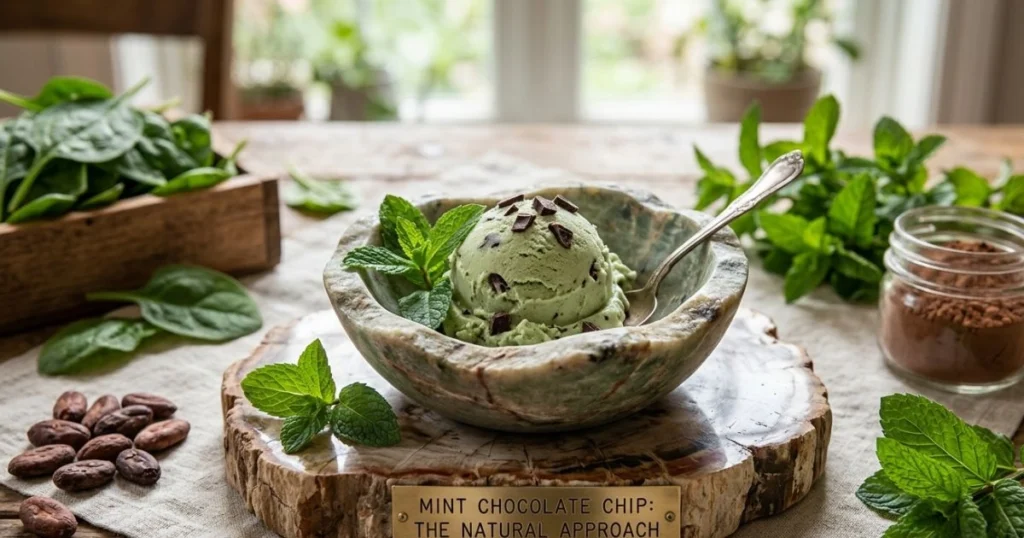
Fresh mint steeping creates far superior flavor compared to artificial extracts. Heat your cream and milk, add packed mint leaves, then let it sit for 15 minutes before straining.
The result is a naturally fragrant base that needs minimal additional flavoring. Chop your dark chocolate into small pieces and add them during the final 1-2 minutes of churning. This timing prevents them from grinding into the base while ensuring they remain as distinct chips throughout.
Common Mistakes That Sabotage Your Results
Over-churning stands as the most frequent error. Listen to your Cuisinart ice cream maker—when the motor noticeably slows, that’s your sign to stop. Continuing further churns it toward butter consistency.
Insufficient chilling creates soft, sloppy results. That 4-6 hour wait isn’t optional—it’s essential. Your base needs to reach 38-40°F before churning begins.
Skipping the tempering step leads to scrambled eggs and grainy texture. This cannot be rushed. Slow and steady mixing prevents every problem.
Using low-quality chocolate or cocoa disappoints every time. Invest in decent ingredients—they comprise most of what you taste.
Storage and Serving Wisdom
Your finished ice cream keeps best in airtight containers stored at 0°F or below. Press parchment paper directly onto the surface before covering—this minimizes frost formation and extends shelf life to 2-4 weeks.
Serve your Cuisinart ice cream maker creations at 8-10°F for optimal flavor and texture. Pull your container from the freezer about 10 minutes before scooping for easier serving and better taste perception.
Why This Matters to Your Life
Making ice cream from scratch isn’t just about creating dessert. It’s about reclaiming something we’ve outsourced to factories and corporations. It’s about knowing what your family eats. It’s about creating traditions and memories around a homemade bowl of something genuinely special.
Every batch represents a small rebellion against mass production and a celebration of doing things the right way. That moment when your guests taste your creation and ask for the recipe? That’s worth every minute of preparation.
Start Your Journey Today
You already have everything you need to create exceptional frozen treats. That Cuisinart ice cream maker in your kitchen isn’t just an appliance—it’s your ticket to becoming the home baker everyone asks for advice.
Begin with the classic vanilla recipe to master your technique. Once you’ve nailed that, branch into darker, bolder flavors. Experiment with seasonal fruits and unique combinations.
Share your creations below. Tell us which recipe you’re attempting first or describe your favorite flavor variation you’ve discovered. Better yet, snap a photo of your finished ice cream and tag us on social media. Let’s build a community of home ice cream enthusiasts who refuse to settle for anything less than homemade excellence.
Your next great dessert moment is just one chill cycle away.