
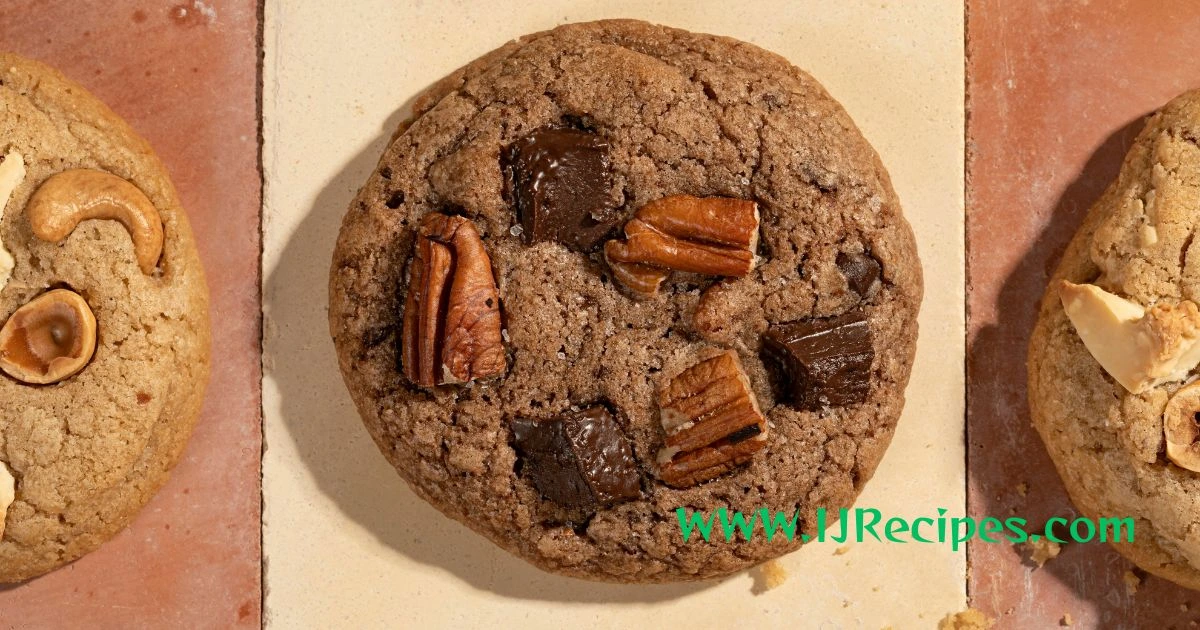
The Best Toll House Cookie Recipe for Soft & Chewy Cookies
Table of Contents
When you open your oven door and that warm, chocolatey aroma hits your face, there’s nothing quite like it. Maybe it takes you back to your grandmother’s kitchen, or perhaps it’s the simple comfort of knowing you’ve created something delicious with your own two hands. That nostalgic feeling? That’s the magic of a perfectly executed Toll House cookie.
But here’s what many home bakers don’t realize: achieving that bakery-quality softness and chewiness isn’t luck—it’s a combination of the right ingredients, precise techniques, and a few insider secrets. In this guide, you’ll discover exactly how to master the best toll house cookie recipe and transform your baking results.
Understanding What Makes Toll House Cookies Special
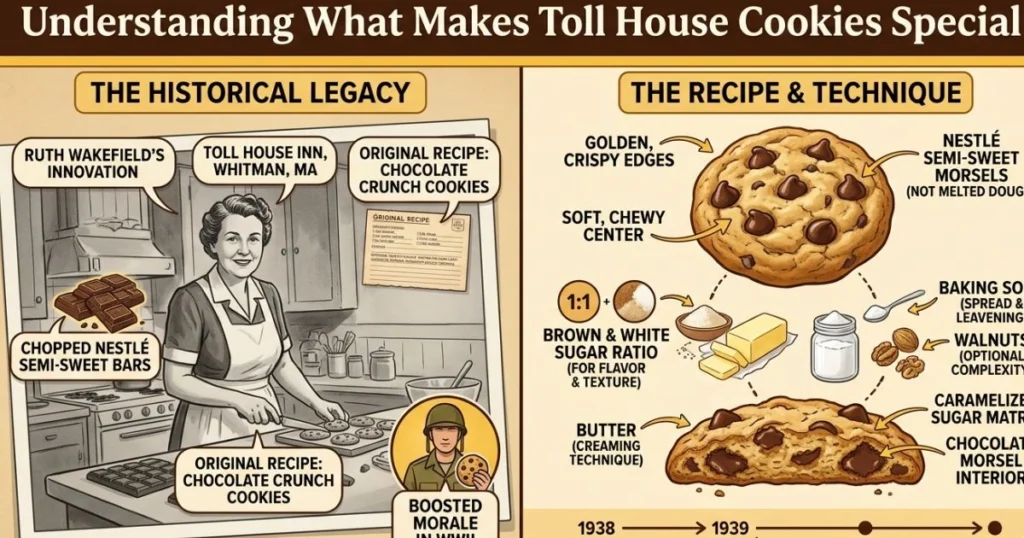
Your journey to perfect cookies starts with understanding the foundation. Back in 1938, Ruth Graves Wakefield created something accidentally revolutionary at her Massachusetts inn. She chopped up a Nestlé chocolate bar and mixed it into her butter cookie dough, expecting it to melt completely. Instead, something magical happened—the chocolate pieces held their shape, creating the beloved chocolate chip cookie as we know it today.
What makes this recipe enduring isn’t just nostalgia. The exact proportions of butter, sugar, and flour create a delicate balance that produces cookies with crispy, golden edges while maintaining a gloriously soft center. Your success depends on understanding why these proportions matter and how to manipulate them to your advantage.
Getting Your Ingredients Right: The Foundation of Success
Here’s where many bakers go wrong. They’ll grab whatever flour is handy, use cold butter straight from the fridge, and wonder why their results disappoint. Your ingredient selection matters far more than you’d think.
Start with quality butter. You’ll need softened, unsalted butter—and we mean softened, not melted. When you let your butter sit out for 30-45 minutes until it reaches room temperature, you’re setting yourself up for success. Cold butter won’t cream properly, and melted butter skips the crucial air incorporation step entirely.
Your sugars deserve attention too. The best toll house cookie recipe uses a combination of granulated white sugar and packed brown sugar. The white sugar promotes crispness around the edges, while the brown sugar contributes moisture and creates that coveted chewy texture. Don’t skip this combination—using one or the other exclusively will throw off your entire result.
Measure your flour by weight if possible. One cup measured by volume could contain anywhere from 100 to 150 grams depending on how you scoop and pack it. This inconsistency explains why some batches turn out perfectly while others disappoint. A simple kitchen scale removes all guesswork.
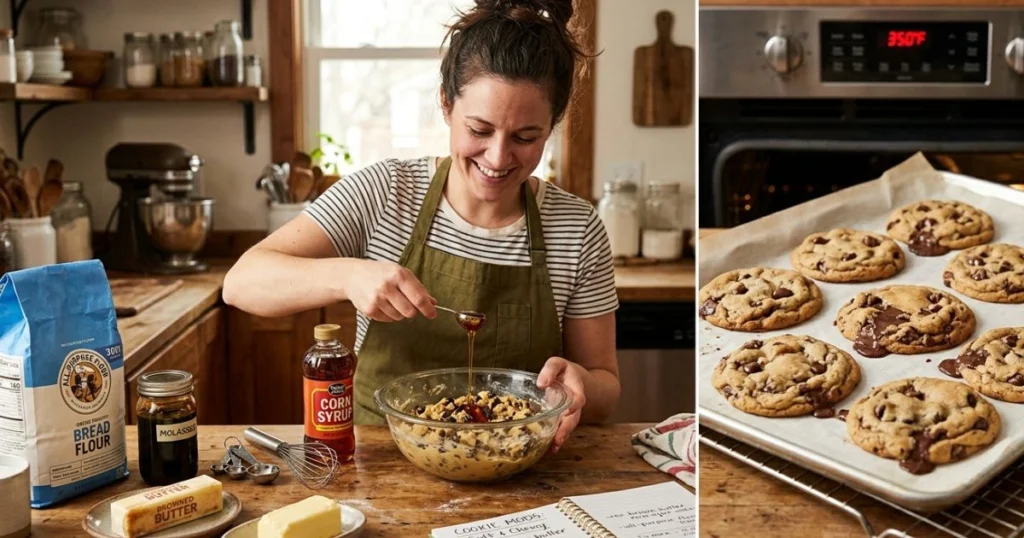
The Step-by-Step Process: Where the Magic Happens
Step 1: Prep Like a Professional
Before you mix anything, gather everything you need. This isn’t just about convenience—it’s about preventing mistakes. Preheat your oven to 375°F at least 15 minutes before baking. Use an oven thermometer if you have one; many ovens run hotter or cooler than their displays indicate.
Line the baking sheets with parchment paper and set aside. This seemingly small detail matters because it affects how your cookies bake evenly and how easily you’ll transfer them to cooling racks.
Step 2: The Creaming Stage—Don’t Rush This
This is non-negotiable. Combine your softened butter with both sugars in a large mixing bowl and beat on medium speed for 3-4 minutes. Your mixture should transform from grainy to pale, fluffy, and noticeably lighter in color. You’ll actually see the texture change if you’re paying attention.
Why does this matter? Creaming incorporates air into your dough through mechanical action. These tiny air pockets become the foundation for tender, lift-forward cookies. Skip or rush this step, and you’ll end up with dense, cakey results.
Step 3: Adding Eggs and Vanilla
Add the eggs individually, mixing for roughly 30 seconds after each one is added. The mixture might look slightly curdled—that’s completely normal. Finally, add your vanilla extract and mix briefly.
Here’s something many recipes don’t mention: don’t go overboard during this stage. Overmixing develops gluten, and excess gluten creates tough cookies. You want everything combined, but you’re not looking for a perfectly smooth batter.
Step 4: Combine Wet and Dry Ingredients
This is where your technique really shows. Mix your flour, baking soda, and salt together in a separate bowl first. Then add these dry ingredients to your wet mixture on low speed, mixing until just combined. Stop when you still see small flour streaks—this might feel wrong, but it’s actually right.
Gently fold in your chocolate chips by hand using a spatula. This final step prevents overmixing and keeps your dough from becoming tough.
The Secret to Achieving That Perfect Chewy Texture
You want to know the real secret that separates mediocre cookies from the ones people actually remember? Underbaking. Most home bakers remove their cookies from the oven when they look completely done. You should do the opposite.
Bake your cookies for 9-11 minutes. The edges should be golden brown and set, but your centers should still jiggle slightly when you gently shake the pan. This looks wrong. It feels wrong. But it’s absolutely right.
What happens next is crucial: leave your cookies on the baking sheet for 2-3 minutes after removing them from the oven. Residual heat continues cooking them gently, setting the structure while keeping the center moist and tender. Then place them on a wire rack to cool.
This technique separates the bakery-quality cookies from the ones that turn out hard and brittle. You’re essentially leveraging carryover cooking to achieve the perfect balance.
Common Mistakes That Ruin Your Results
Using butter straight from the refrigerator: Cold butter cannot cream properly. Your mixture won’t become light and fluffy, and your cookies will bake unevenly.
Overmixing the dough: Once your ingredients are combined, stop. Additional mixing develops gluten, transforming soft cookies into dense ones.
Baking until they look completely done: This is the single biggest mistake home bakers make. Your cookies should look slightly underdone when you remove them from the oven.
Using an unreliable oven: If you suspect temperature issues, invest in an oven thermometer. Baking at 350°F instead of 375°F means your cookies spread excessively and bake unevenly.
Skipping the cooling-on-pan step: Those 2-3 minutes on the baking sheet are essential. Without them, your cookies won’t set properly and may fall apart.
Making Your Cookies Softer and Chewier: Advanced Modifications
Beyond the classic recipe, you can adjust variables to create an even softer result. Adding an extra egg yolk contributes moisture without adding the structural protein from egg whites. Replacing a tablespoon or two of flour with cornstarch tenderizes your cookies further.
Consider using brown butter instead of regular butter. Toast your butter over medium heat until the milk solids turn golden brown, then let it cool before creaming. This adds depth and complexity while maintaining chewiness.
Another approach involves slightly increasing the brown sugar ratio relative to white sugar. Since brown sugar contains molasses, increasing it adds moisture. You might use a 1:1 ratio instead of the traditional 2:1.
Storage Tips for Maximum Freshness
Your cookies deserve proper storage. Keep them in an airtight container at room temperature for up to five days. Here’s a pro tip many bakers don’t know: place a piece of bread or a piece of brown sugar in the container alongside your cookies. As your cookies naturally dry out over a few days, they’ll absorb moisture from the bread, maintaining their soft, chewy texture.
For longer storage, freeze baked cookies in an airtight container for up to three months. You can also freeze portions of dough for up to six months. When you want fresh cookies, simply bake directly from frozen, adding a minute or two to your baking time.
Addressing Your Most Common Questions
Q: Can I use melted butter in this recipe? Absolutely not. Melted butter skips the creaming step entirely, eliminating air incorporation. Your cookies will spread excessively and bake unevenly.
Q: What if my kitchen is warm and my dough seems sticky? Refrigerate your dough for 15-20 minutes before scooping. Chilled dough spreads less while baking, helping it keep its thickness.
Q: How can I tell when my cookies are actually done? The edges should be golden and set, while the centers still jiggle. It feels counterintuitive, but this is exactly where you want them.
Taking Your Baking to the Next Level
The best toll house cookie recipe gives you a reliable foundation, but your personal touch makes them special. Experiment with different chocolate chips—try dark chocolate, milk chocolate, or even a combination. Add toasted nuts, sea salt flakes, or a drizzle of caramel. These additions transform the classic into something uniquely yours.
Your first batch might not be perfect, and that’s completely okay. Each oven has its own personality. Maybe yours runs hot and requires you to reduce baking time by a minute. Perhaps your kitchen’s humidity affects dough consistency. Take these variables into account and adjust as needed.
Ready to Bake Your Best Batch Yet?
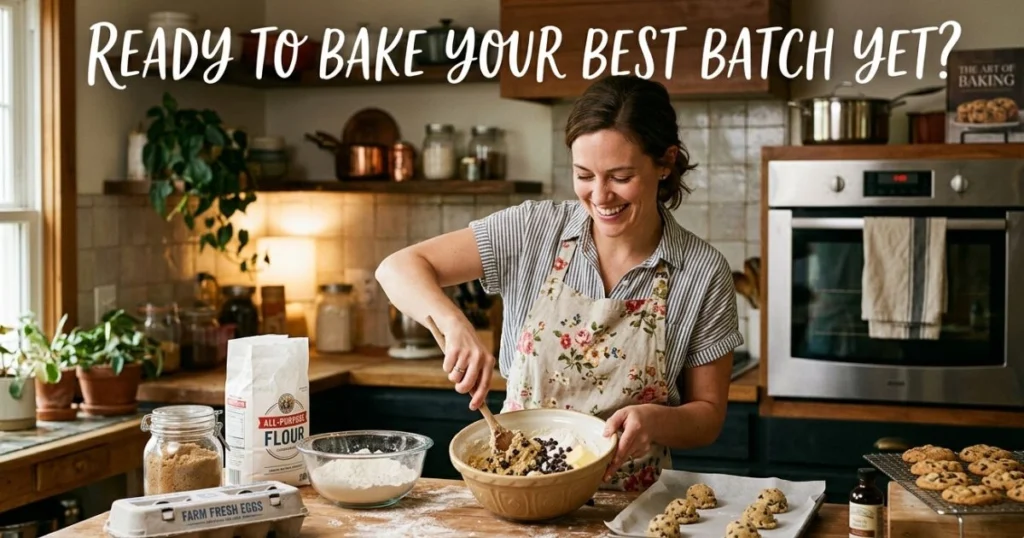
You now have everything you need to create cookies that rival any bakery. The science is straightforward, the techniques are learnable, and the results are genuinely impressive. Stop settling for mediocre homemade cookies and start creating ones you’ll actually be proud to share.
Here’s what I want you to do right now: Gather your ingredients, preheat that oven, and commit to following these techniques precisely. Pay special attention to the creaming stage and the underbaking method—these two elements make the difference between good cookies and genuinely great ones.
Then, once you’ve pulled your first perfect batch from the oven, come back and leave a comment below. Tell me how they turned out. Share any modifications you tried. Post a photo if you’re feeling proud (and you should be). Your experience and insights help other bakers in our community create their own perfect batches.
The best toll house cookie recipe is waiting for you—and it’s time to bake something memorable.